


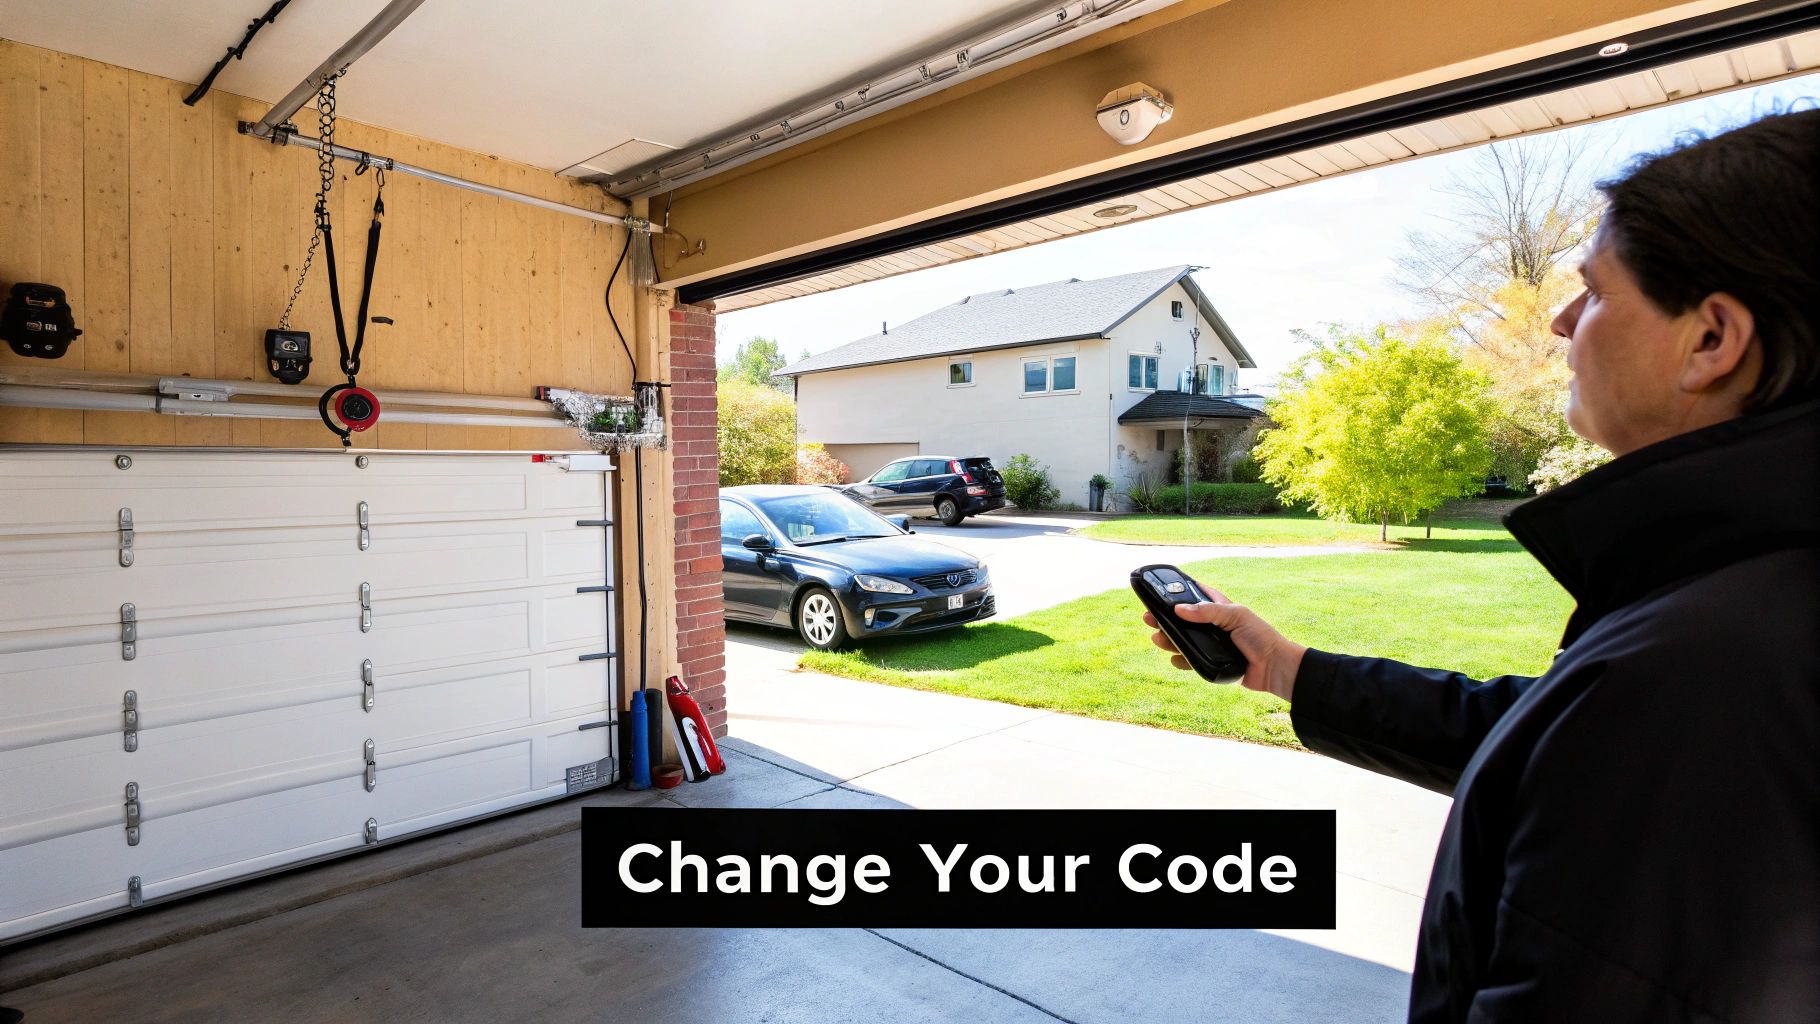
Changing the code on your garage door opener is one of the quickest security upgrades you can make, and it usually takes just a few minutes. The process is pretty simple: you press a 'Learn' button on the main motor unit and then sync your remotes and keypads to the new signal. It's a small step that goes a long way in controlling who has access to your home.
Why and When You Should Change Your Garage Code
Think of your garage door code as the digital key to one of your home's biggest entry points. Securing that key is just as critical as locking your front door. When you proactively manage your garage code, you prevent unwanted access and take full control over your home's security. Certain situations should be an immediate red flag, telling you it’s time for a reset.
Life events often create security gaps that a simple code change can fix in a flash. The table below outlines some of the most common scenarios that absolutely demand a code update.
Key Triggers for a Garage Door Code Change
| Situation | Reason for Code Change | Security Benefit |
|---|---|---|
| Moving into a New Home | The previous owners may still have active remotes or have given out the code. | Ensures only you and your family can access the garage. |
| Losing a Remote or Keypad | A lost remote is a lost key, giving anyone who finds it access. | Makes the lost device useless, protecting your home from intruders. |
| After Service Calls | A temporary code given to contractors remains active until you change it. | Prevents future unauthorized entry after the job is complete. |
| A Relationship Change | A former partner or roommate who has moved out may still know the code. | Restores your home's security and provides peace of mind. |
Treating these events as non-negotiable times to change your code is a smart habit for any homeowner. It's a simple, effective way to stay in control.
Understanding Your Opener Type
Before you start, you’ll need to figure out what kind of system you're working with. Most openers fall into two main categories.
Modern systems almost always use rolling code technology. Each time you press the remote, it sends a brand-new, encrypted code to the opener. This technology makes it nearly impossible for someone to intercept and copy your signal.
Older models, on the other hand, often rely on DIP switches. These are tiny on/off toggles inside both the remote and the motor unit. You have to manually set them to an identical pattern. While they get the job done, this fixed code is far less secure than modern alternatives.
The move toward smarter, more secure home access is clear. The smart garage door opener market is projected to hit $0.71 billion by 2030, showing just how much homeowners are prioritizing these advanced security features.
If your opener is still using outdated tech, an upgrade can dramatically boost your home's security. You can learn all about the benefits of upgrading to a smart garage door opener in our detailed guide.
Locating the Learn Button on Your Opener Motor
Before you can change any codes, you first need to find the “Learn” button on your garage door opener. Think of this little button as the control center for your system's memory. It’s the physical starting point for wiping old codes and syncing new remotes, so knowing exactly where it is is the essential first step.
The button’s location can differ depending on the brand, but most manufacturers keep it simple. For popular brands like Chamberlain, LiftMaster, and Genie, you'll almost always find it on the back or side panel of the main motor unit—that's the box hanging from your garage ceiling. It's usually tucked near the antenna wire or sometimes hidden under the plastic light cover for protection.
Spotting the Right Button
To make things even easier, manufacturers almost always color-code the button. Keep an eye out for a small, square button that’s typically purple, red, green, or yellow. This simple visual cue helps it stand out from the other components on the motor.
This visual guide breaks down the process into a few simple actions: identifying your opener's brand, giving the motor a quick inspection, and zeroing in on the correct button.
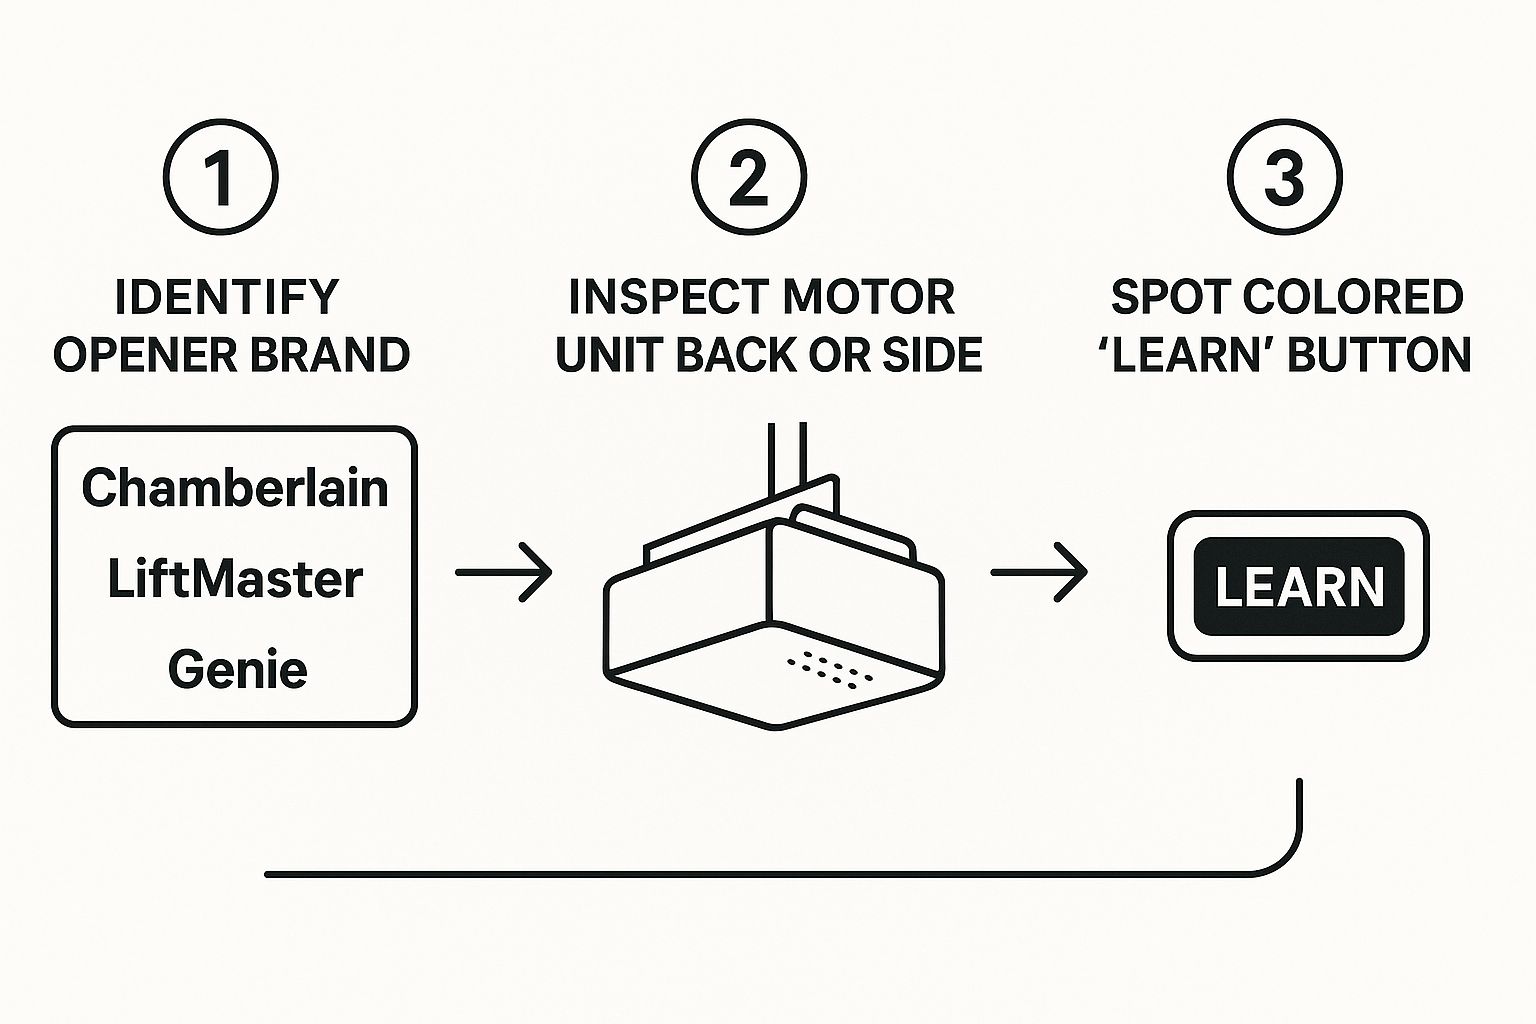
As the infographic shows, finding the button is a straightforward, three-part process that works for just about any major opener brand out there. Once you’ve got your eyes on it, you’re ready to move on.
By the way, if you notice the opener isn't running as smoothly as it should while you're up there, take a look at our guide on how to adjust a garage door opener for some quick troubleshooting tips.
Reprogramming Modern Rolling Code Garage Openers
If your garage door opener was installed in the last 20 years, it almost certainly has rolling code technology. This was a massive security upgrade from older systems. When you change the code, you're not just setting a new password—you're completely resetting the secure link between the opener and all its remotes. The whole process is surprisingly quick and involves two key phases: erasing the opener's memory and then pairing your remotes again from scratch.
This method ensures any lost, stolen, or old remotes (like from a previous homeowner) are permanently locked out. Wiping the memory gives you a clean slate, so you know for a fact that only the devices you hold in your hand have access.
Wiping The Opener Motor Memory
First things first, you need to erase every single code stored in the opener unit mounted in your garage. This is the most important step because it deactivates everything—every remote, every keypad, and even the buttons programmed into your car. You can't skip this.
Find the "Learn" button on the motor unit. It's usually a square button, often purple, red, or orange, located near the antenna wire.
Once you've found it, you'll need to press and hold it down.
Keep holding that button for about six to ten seconds. You'll know it worked when the small LED indicator light next to the button either flashes or goes out completely. Once you see that, you can release the button. The memory is now officially wiped clean.
By erasing the opener's memory, you're performing a full security reset. Every single remote is disconnected, forcing you to re-authorize only the devices you actually have. It's the only way to be 100% sure that no unknown remotes can open your garage.
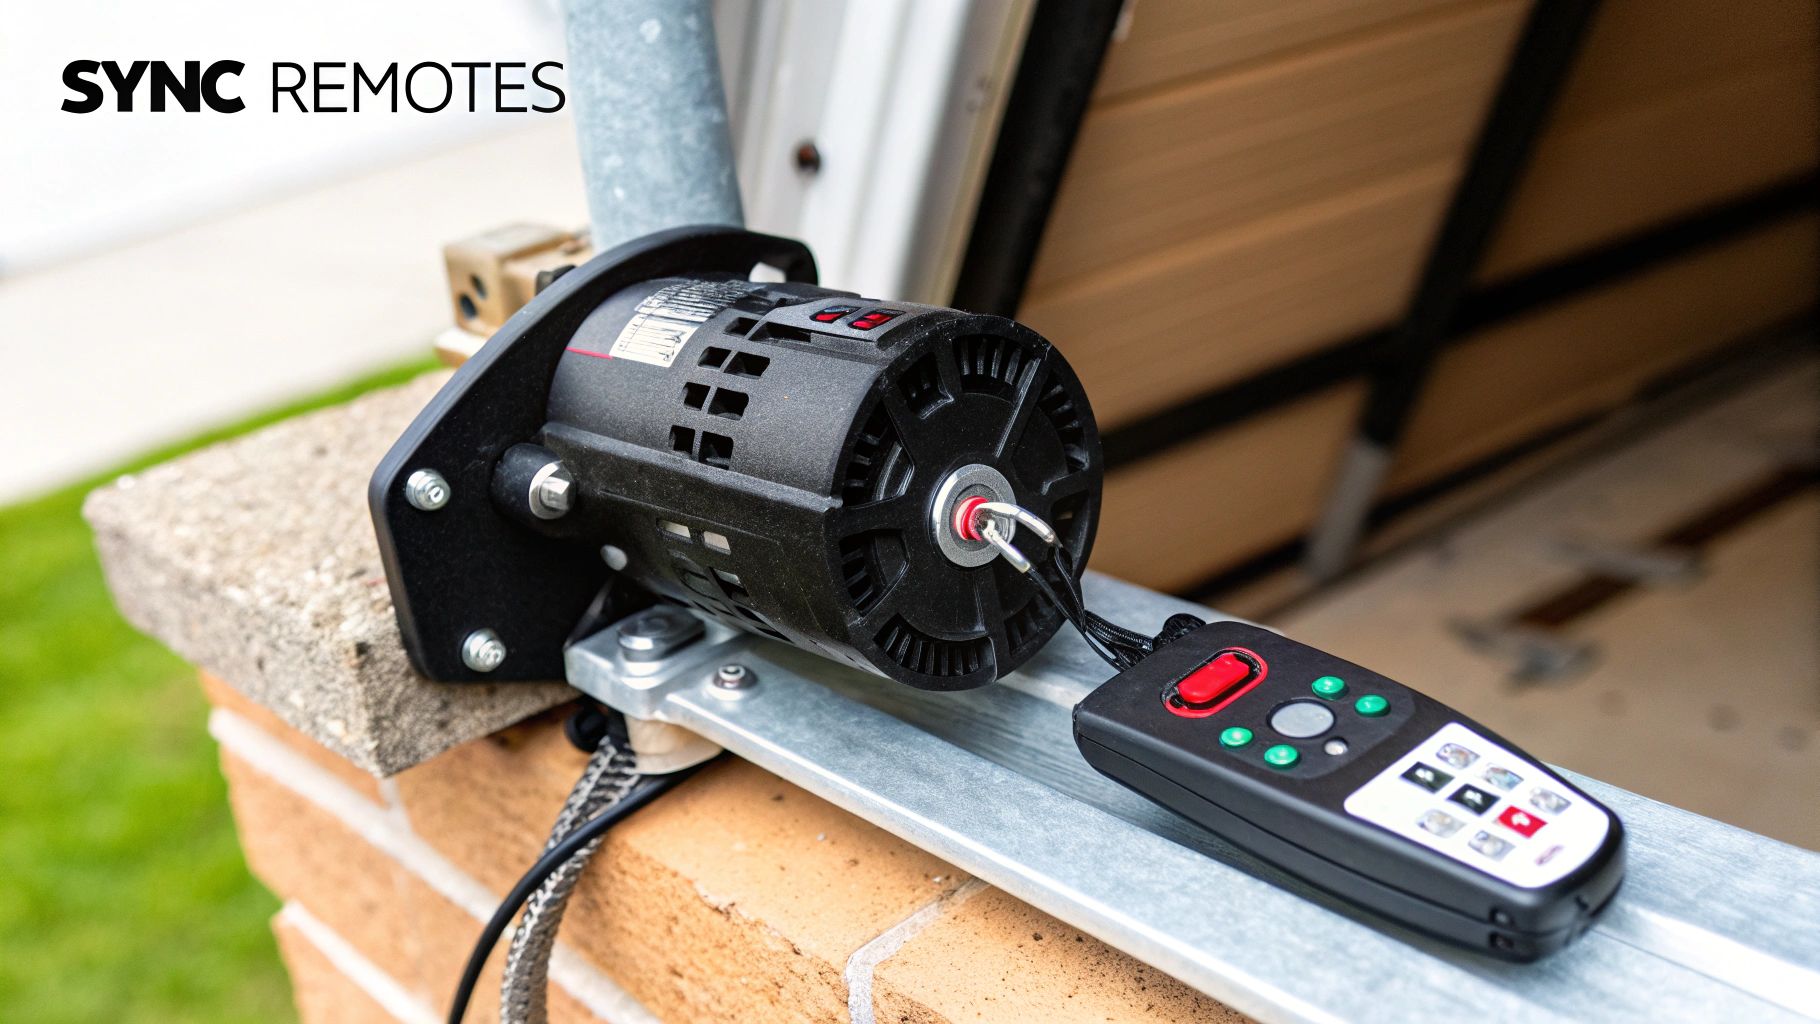
Syncing Your Remotes and Keypads
Now that the opener has a clean slate, it’s time to re-introduce your devices. You’ll have to do this one by one for each remote, keypad, or vehicle you want to grant access.
- Get the opener ready. Press and immediately release the "Learn" button. Don't hold it down this time. The LED indicator should light up and stay on, which means it's in pairing mode for the next 30 seconds.
- Pair your remote. Grab one of your remotes and, within that 30-second window, press and hold the button you want to use for the door. You should hear a click from the opener unit, and the main light bulbs on the motor will likely flash.
- Confirm it worked. The little LED next to the "Learn" button will turn off. That's your confirmation that the remote is successfully programmed.
Just repeat that quick press-and-pair process for every other remote or keypad.
If you’re thinking about upgrading your system or just want to see what's new, you can find more information on modern garage door openers that use this exact type of secure technology. Keeping your hardware current is one of the best ways to keep your home protected.
Updating Codes on Older DIP Switch Systems
While most modern homes have moved on to rolling code technology, you might still run into an older system that uses DIP switches. It's a dead giveaway if your opener doesn't have a "Learn" button. These systems skip the digital pairing process for something much more manual and physical.
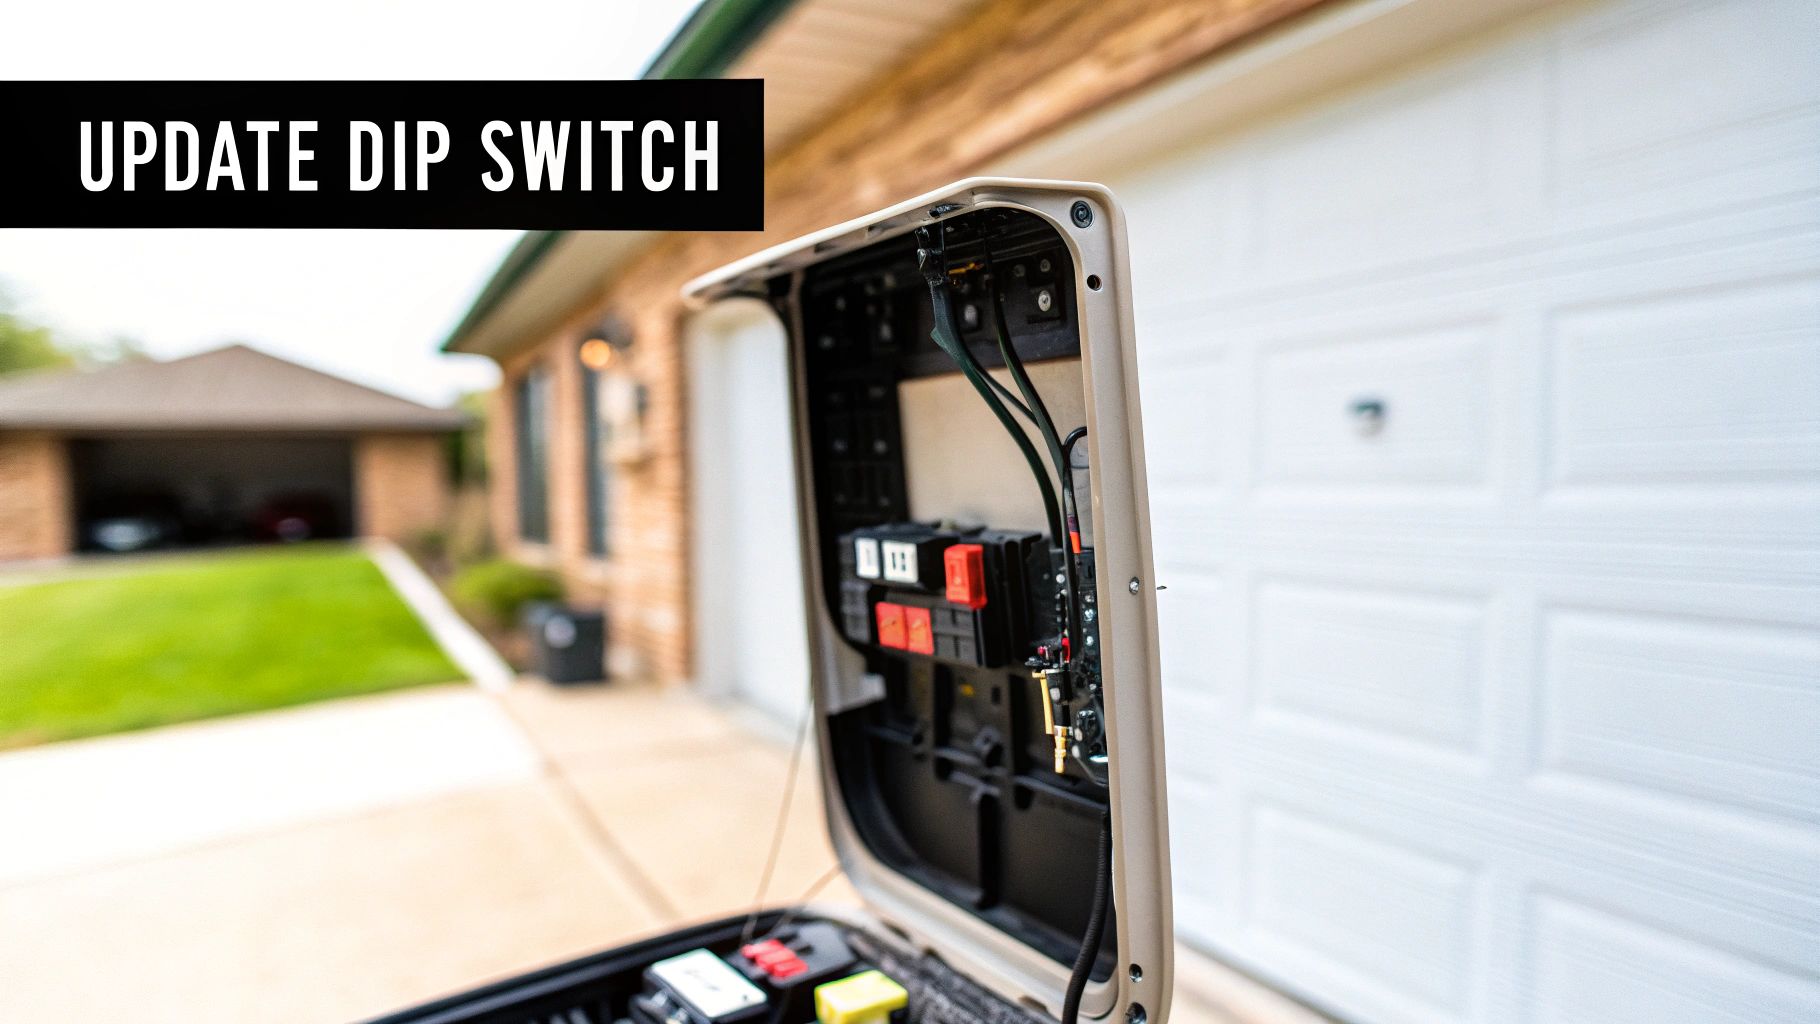
You'll find a row of tiny toggles inside both the remote and the main motor unit. For the door to open, these switches must be set to the exact same on/off pattern. Think of it as a physical password. Changing the code is straightforward, but it requires close attention to detail.
Matching the Switch Patterns
First things first, you need to get to the switches. This usually just means popping off the battery cover on your remote and maybe a small panel on the motor itself. Once you're in, you’ll see a little bank of 8 to 12 switches.
To set a new code, just create a new, random pattern of "on" and "off" positions with the switches inside your remote. I'd recommend avoiding anything too simple, like having them all flipped "on" or alternating up and down. Mix it up a little.
The most crucial part of this whole process is meticulously duplicating that exact pattern on the motor unit's DIP switches. Every single switch has to match perfectly. If even one is off, the opener won't get the signal, and you'll be left wondering why it isn't working.
This fixed-code technology is definitely a relic from an older era of home security. The global market for garage doors has shifted heavily toward smarter, more secure systems, reflecting a broader trend in home safety. You can learn more about these trends in the garage door market and see why an upgrade might be a smart investment for your home.
Troubleshooting Common Programming Problems
Even when you follow the instructions perfectly, technology has a way of not cooperating. It’s incredibly frustrating when you try to change your garage door opener code and it just won’t work. But before you pick up the phone to call for help, there are a handful of common issues you can probably solve yourself in just a few minutes.
A remote that refuses to sync or a "Learn" button that seems dead are two of the most frequent hurdles people run into. More often than not, the solutions are surprisingly simple. Weak or dead remote batteries are the number one culprit, followed closely by standing too far from the motor unit while trying to pair it. Most systems need you to be within a few feet for a solid connection.
Diagnosing the Core Issue
If you’ve covered the basics and are still stuck, it’s time to dig a little deeper. Compatibility problems are a common source of trouble, especially if you’re trying to pair a universal remote with an older opener model.
Here are a few specific scenarios I see all the time and what they usually mean:
- Remote Refuses to Sync: The first thing to check is whether the remote's frequency is compatible with your opener. If it’s the wrong type, it simply can't communicate with the motor, no matter how many times you press the button.
- Only One Remote Works: This is a classic sign of a full memory bank. Many older garage door openers can only store a limited number of remote codes. The fix is to erase the unit's memory and then re-sync only the remotes you actively use.
- "Learn" Button is Unresponsive: A complete lack of response from the "Learn" button could point to an issue with the opener's logic board. If this is happening alongside other weird behaviors, our guide on reasons your garage door opener is acting up offers a more detailed breakdown.
A faulty logic board is a less common but more serious problem. Power surges are a frequent cause of logic board failure, which can lead to all sorts of unpredictable behavior beyond just programming headaches.
The garage door opener market is a massive part of the home improvement industry. In fact, the North American market alone was valued at around $1.251 billion, with the U.S. making up a huge 74.60% of that. You can discover more about the growth of the garage door openers market and its latest tech. This just goes to show how many of these devices are out there, highlighting why keeping them secure and working right is so important.
Answers to Your Top Garage Code Questions
When you're ready to change the code for a garage door opener, a few questions almost always come up. Let's clear up the common uncertainties so you can handle the process like a pro.
How Often Should I Change My Garage Door Code?
Think of it like an annual security checkup. Changing your code once a year is a great habit for keeping your home secure. But there are a few times when you shouldn't wait.
You'll want to change the code immediately if:
- You lose a remote. A lost remote is a lost key. Resetting the code makes that missing remote useless to whoever finds it.
- You've just moved in. You have no idea who the old owners shared a remote or code with. It’s best to start fresh with your own secure code.
- You gave out temporary access. Once the contractors, dog walkers, or house guests are done, change the code to make sure they can’t get back in.
Treating your garage code with this level of care ensures only the people you trust have access.
Does Changing One Remote Code Affect Others?
Yes, it absolutely does, and this is a crucial detail to remember. Modern garage openers with rolling code technology don't let you just delete one remote. The process wipes the opener's entire memory clean.
This means every single remote, keypad, and vehicle transmitter linked to it will be deactivated. You’ll have to reprogram each device you want to keep using, one by one. It’s a total system reset, not a simple update.
What Is the Difference Between Rolling and Fixed Codes?
The technology running your opener code has a huge impact on how secure your garage is.
Older openers often use fixed codes, where the same exact signal is sent every time. You usually set these with little DIP switches inside the remote. The problem? That signal is static, making it much easier for someone to potentially capture and copy it.
Rolling code technology is the gold standard for a reason. Every time you press your remote, it sends a brand-new, encrypted code to the opener. Because the code is always changing, it’s practically impossible for a would-be intruder to grab your signal and reuse it. This dynamic system offers far better protection and a whole lot more peace of mind.
If you need a hand with any garage door opener issues or are thinking about an upgrade, you can trust the experts at Security Door Gate and Fence. We deliver reliable repair and installation services to keep your home safe. Schedule your service today and let us take care of the rest.


 (480) 548-0807