


Garage door eye sensors are a non-negotiable safety feature, plain and simple. Think of them as an invisible tripwire that protects your family, pets, and property from the incredible force of a closing door. These small devices, mounted near the bottom of your garage door tracks, work together to create an infrared beam. If anything breaks that beam while the door is coming down, the opener instantly knows to reverse course.
The Invisible Guardian of Your Garage Door
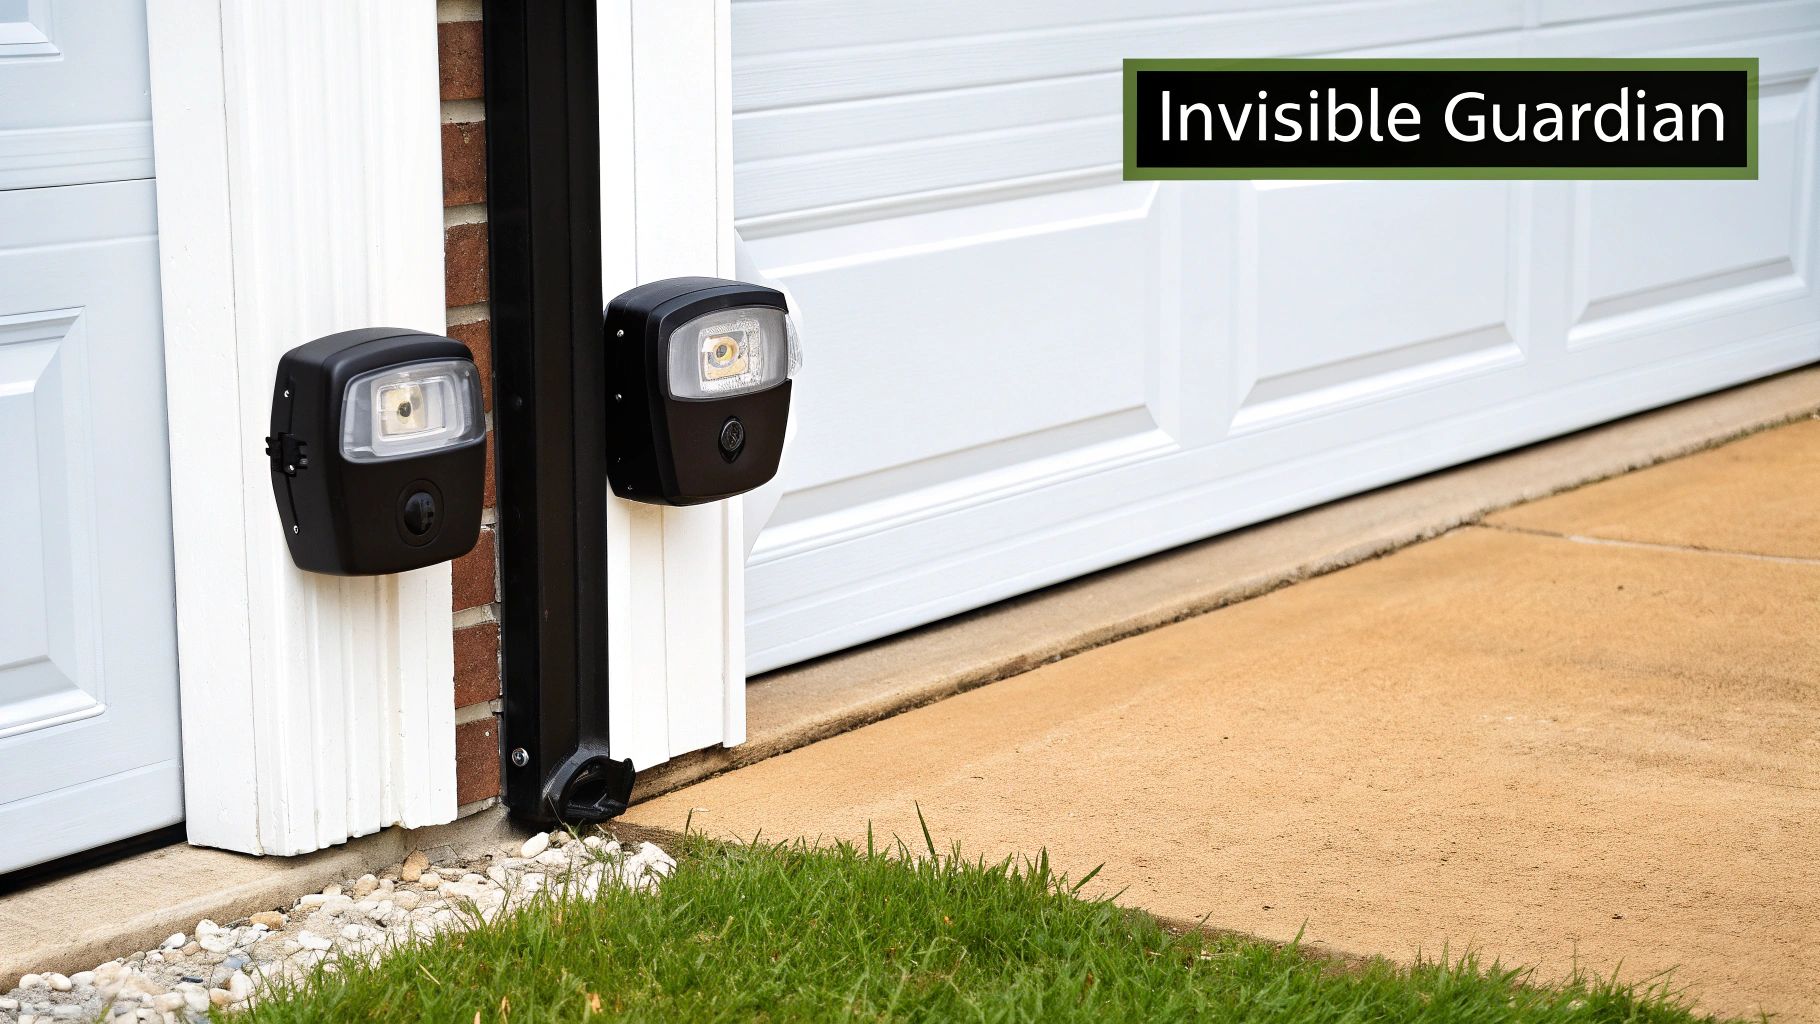
These sensors are the silent sentinels watching over your home’s largest moving part. In fact, they've been required on all residential garage door openers made since 1993, making them the single most important safety component in your entire system. Without them, a heavy door could easily close on a child, pet, or vehicle, causing serious injury or thousands in damages.
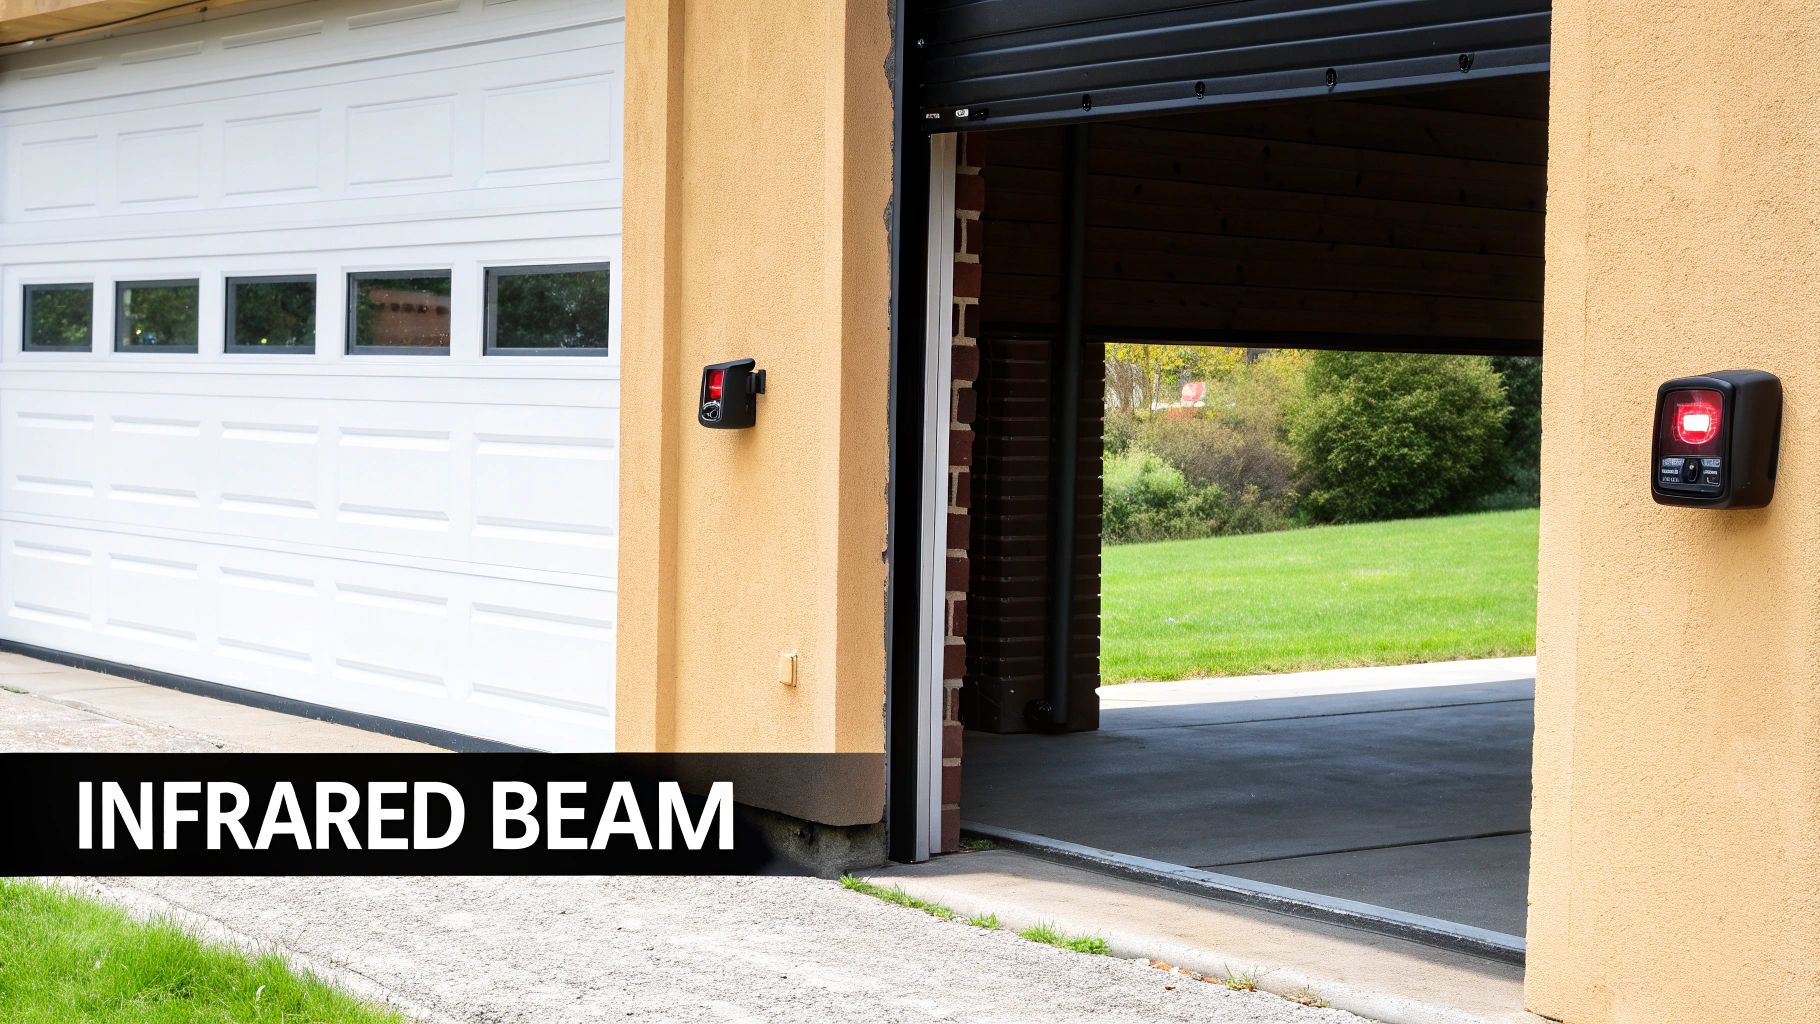
The way they work is elegant in its simplicity. One sensor, the "emitter," shoots a focused beam of infrared light across the opening to its partner, the "receiver." As long as the receiver can "see" that uninterrupted beam, it gives the main opener unit the all-clear signal.
Why This Technology Is Essential
The real magic of garage door eye sensors is that they're proactive. They don't wait for the door to actually hit something; they stop the contact from ever happening. It’s a critical distinction that has dramatically cut down on garage door-related accidents over the past few decades, giving homeowners peace of mind every time they press the close button.
This simple yet effective system of an emitter and a receiver is the frontline defense against garage door accidents. Understanding its function is the first step toward maintaining a safe and reliable system for your home.
This basic knowledge is the foundation for any troubleshooting or maintenance you might need to do down the road. When the sensors are working right, you don't even notice they're there. It’s only when they act up—often for very simple reasons—that you realize just how vital they are to the daily, safe operation of your garage.
How Your Garage Door Eye Sensors Actually Work
The magic behind your garage door eye sensors is actually pretty straightforward, but it's also incredibly effective. It all comes down to a constant, invisible conversation happening between two little boxes mounted near the floor on either side of your garage opening.
Think of it like a tripwire from an old spy movie, only instead of a string, it’s a beam of light. One sensor is constantly sending out this beam, and the other is waiting to receive it.
This system is made up of two key players:
- The Emitter: This is the sending unit. Its only job is to shoot a focused, invisible beam of infrared light straight across the garage door opening.
- The Detector: This is the receiving unit, also called the receiver. It’s the "catcher's mitt," waiting for that infrared beam to arrive.
As long as the detector can "see" that steady signal from the emitter, it sends an "all-clear" message to the main garage door opener. This tells the opener that the path is unobstructed, giving it the green light to close the door normally.
The Power of Infrared Light
So why infrared light? For one, it’s completely invisible to us, so you don't have a distracting red laser shining across your garage. More importantly, it’s extremely reliable. It isn't easily fooled by other light sources, like your car's headlights or the sun changing positions throughout the day.
The moment anything—a person, a pet, or even just a stray toy—crosses that path, it physically blocks the infrared beam. The instant the detector loses sight of the light, the conversation between the sensors is broken.
This interruption is the trigger. The detector immediately tells the garage door opener's logic board what happened. In response, the opener commands the motor to stop closing and reverse course, sending the door right back up to its fully open position.
This whole process happens in a split second, long before the door can ever make contact with the object. This photoelectric technology became a federally mandated safety feature for a very good reason. After a number of tragic accidents, the Consumer Product Safety Improvement Act required all residential garage door openers manufactured after 1993 to include these safety sensors.
The results were immediate and dramatic, with child entrapment injuries falling by over 50% in the following decade. You can explore more about the market impact of these safety regulations and see how residential garage door accessories have evolved. This proven track record is exactly why your garage door eye sensors are one of the most vital safety components in your entire home.
Why Your Garage Door Sensors Are Malfunctioning
When your garage door suddenly refuses to close, the problem often points straight to the garage door eye sensors. These little devices are your door's most important safety feature, but they can be sensitive. Understanding what makes them act up is the first step to getting your door working again.
Most of the time, the culprit is something incredibly simple: a physical blockage. Since the sensors sit just a few inches off the floor, it doesn’t take much to get in their way. Dust, leaves, cobwebs, or even a stray basketball can break the invisible infrared beam, tricking the system into thinking something is blocking the door's path.
This infographic breaks down the most common reasons your sensors might be acting up, from simple obstructions to alignment and environmental factors.
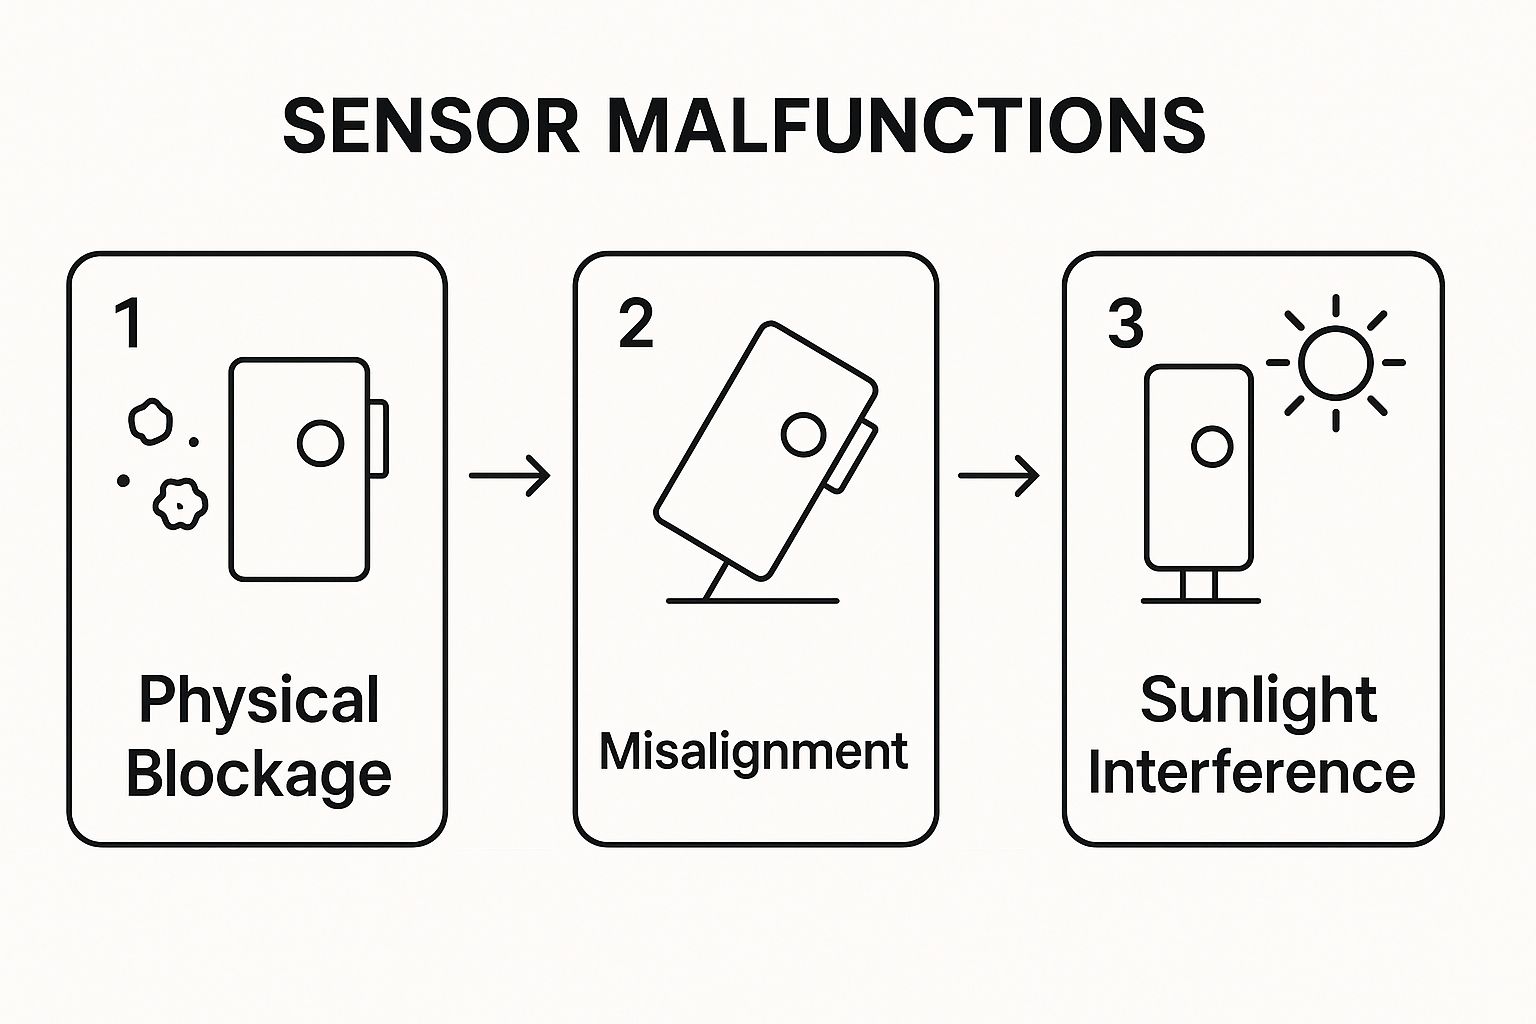
As you can see, a small issue like a bit of dirt can lead to bigger-looking problems like misalignment. It really helps to start with the easiest fix first.
Misalignment and Signal Interruption
If you’ve cleared away any debris and the door still won't close, misalignment is the next likely suspect. The two sensors—the emitter and the receiver—have to be aimed perfectly at each other to work. It only takes a small bump from a lawnmower, a stray kickball, or a misplaced storage bin to knock one of them out of position and break the connection.
The misalignment might be so slight you can't even see it, but it’s enough to stop the signal. Your best clue is the small LED lights on the sensors themselves. A flickering or unlit green light on the receiving sensor is a dead giveaway that it's not "seeing" the beam from the other side.
Sunlight can also be a surprisingly frustrating issue. If the sun is low in the sky and shines directly into the receiving sensor, it can completely overwhelm it. The intense light blinds the sensor, which then registers a false obstruction.
Think of it like trying to see a flashlight beam while someone is shining a spotlight in your eyes. The receiver can't distinguish the infrared signal from the powerful sunlight, so it defaults to the safe option and tells the opener to reverse the door.
To help figure out what’s going on, you can use this quick diagnosis table. Match your door's behavior to the most likely cause and see what to try first.
Quick Diagnosis for Sensor Problems
Use this guide to match your garage door's behavior to the most likely cause and find your first troubleshooting step.
| Symptom | Most Likely Cause | Your First Step |
|---|---|---|
| Door reverses immediately, sensor light is blinking | Simple obstruction or dirty lens | Wipe both sensor lenses with a soft, dry cloth |
| Door reverses, one sensor light is off or flickering | Misalignment | Gently adjust the misaligned sensor until the light turns solid |
| Door works fine sometimes, but not others | Intermittent issue (sunlight or loose wire) | Check for direct sunlight hitting the sensor; if not, check wire connections |
| Door won't close at all, both sensor lights are off | Power or wiring issue | Check the wires at the sensor and opener for damage or loose connections |
This table can save you a lot of time by pointing you in the right direction before you start taking things apart.
Potential Wiring Problems
If cleaning and realigning the sensors doesn’t do the trick, it’s time to look at the wiring. Over the years, the thin wires connecting the sensors to the opener unit can get frayed, corroded, or pulled loose. Moisture, pests, or just an accidental snag can cause a bad connection.
This prevents the sensors from getting the power they need or from sending a clear signal back to the main opener.
You'll know you might have a wiring issue if you see these signs:
- LED lights are completely off on both sensors, which usually means no power is reaching them.
- Visible damage like frayed insulation, chew marks from a mouse, or rust on the connection points.
- The sensors fail randomly. If they work one minute and not the next, a loose wire is often the reason.
While you can easily spot obvious damage, tracing a more complex electrical fault is something that requires a bit of caution. If the problem isn't obvious, it might be time to call in a pro.
A Step-by-Step Guide to Fixing Your Sensors
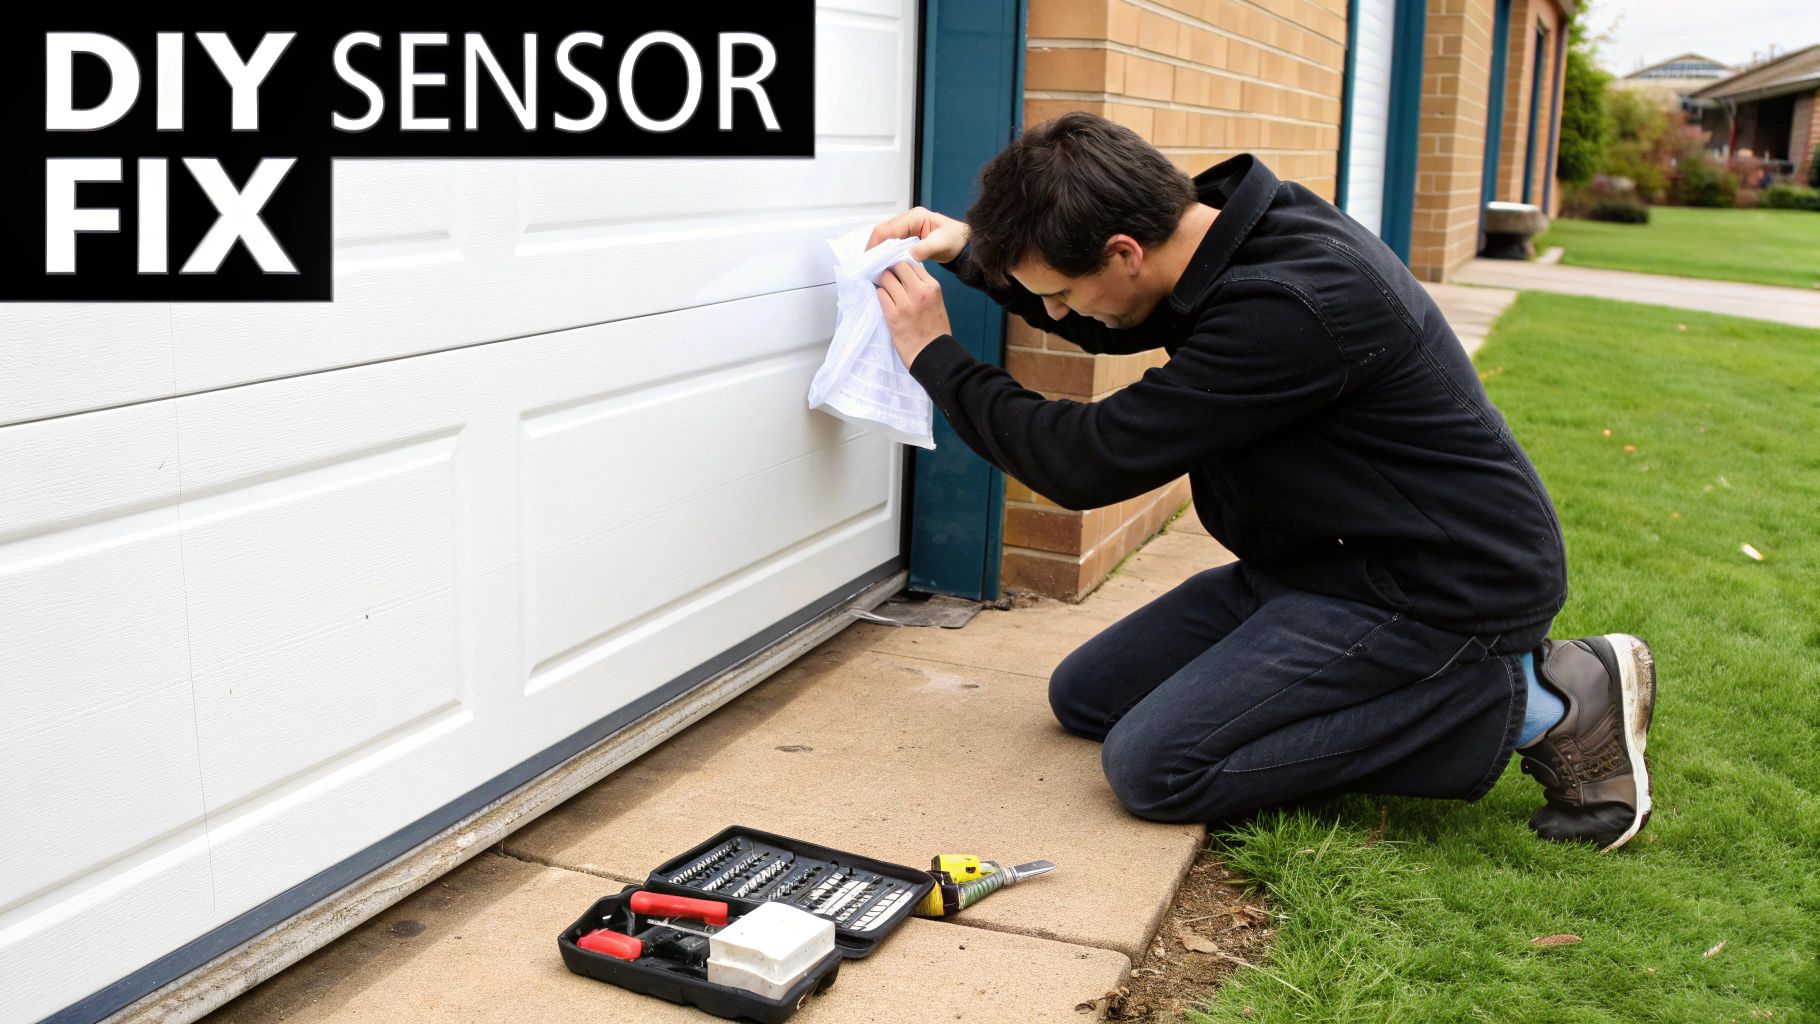
When your garage door suddenly refuses to close, it’s easy to jump to the worst conclusion. But before you panic, take a breath. The fix is often surprisingly simple and something you can handle in just a few minutes with this practical checklist for your garage door eye sensors.
First thing's first: do a quick visual inspection. Get down on the sensors' level and look at the path between them. Is there a stray recycling bin, a broom handle, or a kid's toy breaking the beam? Sometimes the smallest thing is the culprit.
Step 1: Start with a Simple Cleaning
The lenses on your photo-eye sensors are magnets for dust, grime, and the occasional cobweb. It doesn’t take much—just a thin layer of dirt can be enough to block the infrared beam and trick your garage door into thinking something is in the way.
Grab a soft, dry microfiber cloth and gently wipe both lenses clean. Be sure to avoid any harsh chemicals or abrasive cleaners that could scratch the plastic. This two-minute step solves a huge percentage of sensor-related headaches.
Step 2: Verify Sensor Alignment
If a quick cleaning didn’t do the trick, misalignment is the next likely culprit. These sensors can get bumped out of position by the slightest nudge, causing the beam to miss its target. Your best friend here is the little LED indicator light on each sensor.
- The Sending Sensor (usually with an amber or yellow LED) should have a solid, steady light. This just tells you it has power and is sending out its signal.
- The Receiving Sensor (usually with a green LED) is the one to watch. If its light is flickering or completely off, it’s not picking up the beam from the other side.
Gently adjust the receiving sensor with your hand, moving it slightly up, down, or side-to-side. As you move it, keep your eye on that green LED. The moment it turns solid, you’ve hit the sweet spot. Now, just tighten the mounting bracket or wing nut to lock it in place.
Still no luck? If your door won’t close all the way after you’ve cleaned and aligned the sensors, check out our guide on https://securitygarageandgate.com/garage-door-services/how-do-you-fix-a-garage-door-that-wont-close-all-the-way/.
A solid green light on the receiving sensor is the "all-clear" signal. A flickering or unlit LED is a definitive sign of either a blockage or misalignment that needs to be corrected.
Step 3: Check Wires and Sunlight
Next up, trace the thin wires that run from each sensor back to the main opener unit on the ceiling. Run your fingers along the length of the wire, looking for any obvious damage—fraying, pinches, or even chew marks from pests. Double-check that the wires are still securely connected at both ends.
Finally, think about the sun. Does your door only act up at certain times of the day? If so, direct sunlight might be blinding the receiving sensor. You can test this theory by using a piece of cardboard to shade the sensor. If the green light pops back on, you've found your problem. Installing sensor sun shields or swapping the positions of the two sensors can usually fix this.
This reliance on sensors is only growing. The global market for door sensor devices, including garage door eye sensors, is projected to grow from roughly USD 1.12 billion in 2025 to about USD 1.5 billion by 2030, largely thanks to the expansion of smart home technology. As more homes adopt these systems, knowing a little basic troubleshooting becomes a valuable skill. Discover more insights about the door sensors market.
Keeping Your Eye Sensors in Top Condition
Think of your garage door eye sensors like you would an annual check-up for your car—it’s proactive care that prevents bigger headaches down the road. A simple, consistent maintenance routine is the best way to make sure this critical safety system works reliably day in and day out.
Preventive care doesn't have to be a huge chore. By setting aside just a few minutes each month, you can catch little issues long before they turn into a malfunctioning door and a major inconvenience.
Your Simple Maintenance Checklist
Keeping your sensors in prime shape is pretty straightforward. The real key is just being consistent. Try to make these quick tasks part of your regular home upkeep schedule.
-
Wipe Lenses Monthly: Grab a soft, dry microfiber cloth and gently clean the lenses on both sensors. This simple wipe-down removes the dust, pollen, and cobwebs that can easily block the infrared beam and trigger false readings.
-
Check Alignment After Bumps: Life happens. Anytime the garage door tracks get bumped—whether by a car, the lawnmower, or a misplaced storage bin—give the sensors a quick visual check. You want to see solid LED lights, which tell you they are still properly aligned and talking to each other.
-
Inspect Wiring Periodically: Take a moment to look over the thin wires running from the sensors back to the opener unit. You're looking for any signs of fraying, pinching, or damage from pests. A compromised wire can cut off power and communication, rendering the sensors useless.
The single most important part of your routine is the monthly safety reversal test. Just place an object that won't damage your door, like a cardboard box or a roll of paper towels, directly in the door's path. When you hit the button to close it, the door should immediately stop and reverse as soon as it detects the box.
This test is the ultimate confirmation that your garage door eye sensors are doing their job correctly. It proves that the entire safety system is ready to respond when it matters most. For a more detailed guide on taking care of the whole system, our comprehensive garage door maintenance checklist covers everything from the springs to the seals. A proactive routine is what ensures every component, especially your sensors, is always protecting your home and family.
When You Should Call a Garage Door Professional
While many common issues with garage door eye sensors are perfect for a DIY fix, knowing your limits is key to staying safe. Running through a basic troubleshooting guide often gets things working again, but some situations are clear signals of a deeper problem that needs an expert’s touch.
Trying to tackle electrical issues without the right training isn't just risky—it can cause even more damage. If you've already cleaned the lenses, checked the alignment, and cleared away any obstructions, but the door still won't cooperate, it's time to pick up the phone.
Signs You Need an Expert
Certain symptoms point straight to a problem that’s more than just a simple adjustment. Calling a technician is the smartest and safest move if you’re seeing any of these red flags:
- No LED Lights: If the little indicator lights on both sensors are completely dark, you're likely dealing with a power or wiring issue. This could be anything from a frayed wire or a loose connection at the opener to a total sensor failure.
- Visible Wire Damage: Spotted any cuts, chew marks from pests, or corrosion on the sensor wires? A quick fix isn't going to cut it. Damaged wiring needs a professional repair to guarantee a safe and reliable connection.
- Erratic Door Behavior: When the door acts up even though the sensor lights are solid and the path is clear, the problem might be with the opener's logic board. That's the brains of the whole system, and diagnosing it takes specialized tools.
A professional technician can diagnose these complex issues quickly and safely. Persistently malfunctioning sensors could indicate a deeper electrical problem, and for those situations, you can learn more about why garage door repair should be left to the experts.
These crucial safety components are part of a massive industry. In fact, the global market for garage door openers, which relies heavily on these sensors, was valued at about USD 1.4 billion in 2024. The size of this market really drives home how vital properly functioning safety devices are in today’s homes. Learn more about garage door opener market trends.
Your Questions About Eye Sensors, Answered
Even after you get the hang of how your garage door eye sensors work, a few specific questions always seem to pop up. We get it. Getting the small details right can be the difference between a safe, reliable garage door and one that’s a constant headache.
Let’s clear up some of the most common things homeowners ask about these critical safety devices, from placement to compatibility.
How High Should Garage Door Eye Sensors Be Mounted?
This is one of those details that matters—a lot. For your sensors to do their job correctly, they need to be mounted at the right height. The industry standard is to place garage door eye sensors between four and six inches off the garage floor.
Why that specific range? It’s the sweet spot. It’s low enough to catch small children, pets, or a stray tricycle that might otherwise sneak under the closing door. At the same time, it’s just high enough to keep everyday things like puddles or a slightly uneven patch of concrete from triggering false alarms. Mount them any higher or lower, and you're seriously compromising the safety they're designed to provide.
Can I Bypass My Garage Door Eye Sensors?
While it’s technically possible to bypass the sensors in a pinch, it should absolutely never be a permanent fix. Most garage door openers let you override the sensors by pressing and holding the wall-mounted button until the door is completely closed.
This override feature is designed for emergencies only—like when you know the sensors are out of whack but you have to get the garage secured for the night. Permanently disabling your sensors is incredibly dangerous, violates federal safety regulations, and leaves you liable for any accidents or damage that might happen.
Are All Garage Door Eye Sensors Universal?
This is a really common misconception, and it can cause some major headaches if you get it wrong. While a lot of sensors might look similar, they are definitely not universal. Most manufacturers design their sensors to work only with their specific models of garage door openers.
Trying to use an incompatible sensor can lead to all sorts of problems, from the system simply not working to potentially frying the opener’s main logic board. Before you buy a replacement, always double-check your opener’s model number to make sure you’re getting the right manufacturer-approved parts. Knowing the specifics also helps you budget for the repair; you can learn more about what impacts the cost of garage door sensors to be better prepared. Getting the right part from the start is the only way to ensure your safety system works the way it was intended.
For expert diagnostics and professional garage door services in Scottsdale, Phoenix, and the surrounding areas, trust the team at Security Door Gate and Fence. We ensure your system is safe, secure, and operating perfectly. Visit us at https://securitygarageandgate.com to schedule your service.


 (480) 548-0807