


So, your garage door hits the floor, hesitates for a second, and then goes right back up. It’s frustrating, but it’s actually a good sign—it means your door’s safety features are working. Most of the time, this happens for a few common reasons: the safety sensors are blocked or knocked out of alignment, the opener’s force settings are off, or something is physically in the door’s way. A quick visual check is the best place to start.
Understanding Why Your Garage Door Reverses
A garage door that won’t stay down is more than just an annoyance; it's a clear signal that something in the system needs your attention. Modern garage door openers are all equipped with safety reversal mechanisms designed to prevent accidents. When the door starts reversing on its own, it’s because the opener thinks something is wrong.
This is one of the most common headaches homeowners face. The garage door repair market is always busy, and a big reason for that is aging systems where sensors and mechanical parts start to fail, causing exactly this kind of problem.
Your first goal is to figure out if you're dealing with a simple fix you can handle in a few minutes or something more serious. Think of it as a process of elimination. We’ll start with the easiest and most frequent culprits first.
To give you a quick overview, here are the most common reasons your door might be acting up.
Common Reasons Your Garage Door Reverses
| Potential Cause | Common Symptoms | DIY Difficulty Level |
|---|---|---|
| Obstructed Safety Sensors | Door reverses immediately, opener light might blink. | Easy: Usually just requires moving an object or cleaning the lens. |
| Misaligned Safety Sensors | Door reverses from any position, sensor LEDs are off or flickering. | Easy: Simple to realign by hand. |
| Incorrect Close-Force Setting | Door reverses upon hitting the floor. | Moderate: Requires adjusting dials on the opener motor. |
| Debris in the Tracks | Door stops or reverses at the same spot every time. | Easy: A quick clean-out often solves it. |
This table should help you narrow down the possibilities before you even grab a tool. Now, let's get a closer look at what you need to inspect.
Key Areas to Inspect First
Before you start messing with settings, a simple walk-around inspection can often solve the mystery. Take a moment to look over these critical areas:
- The Safety Sensors: These are the two little electronic "eyes" near the bottom of your garage door tracks. They need a clear, unbroken line of sight to each other to work correctly.
- The Door's Path: It sounds obvious, but you’d be surprised how often a stray rake, a recycling bin, or even a pile of leaves is the real culprit.
- The Physical Tracks: Glance down the metal tracks on both sides. Look for built-up gunk, dirt, or any small dents that could be stopping the rollers from moving smoothly.
By methodically checking these components, you can quickly narrow down what’s causing the trouble. For more ways to keep your system in top shape, check out our guide on garage door repair tips to improve functionality. This logical approach helps you solve the problem without making unnecessary (and potentially problematic) adjustments.
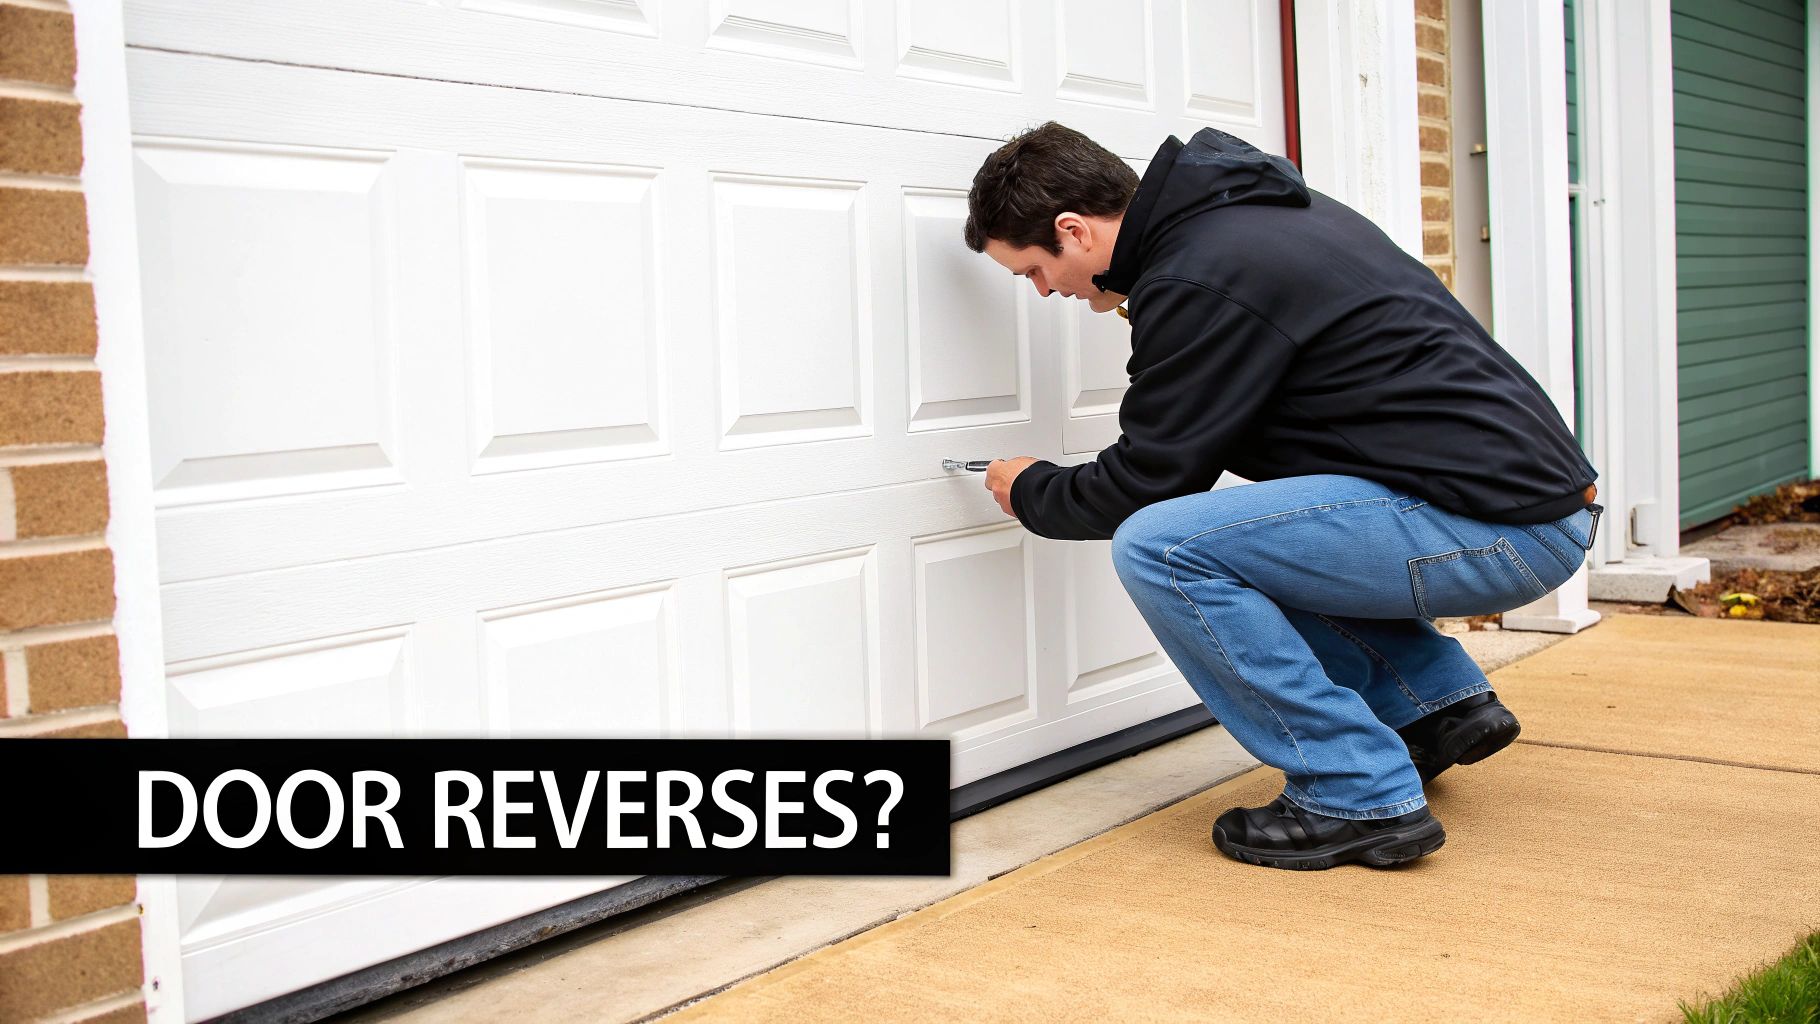
Troubleshooting Your Garage Door Safety Sensors
When your garage door starts to close and then suddenly shoots back up, the safety sensors are almost always the culprit. These little electronic eyes sit near the bottom of your tracks, sending an invisible infrared beam across the opening. If anything breaks that beam, the opener's logic board assumes something is in the way and reverses the door to prevent an accident.
It's a fantastic safety feature, but it's also incredibly sensitive. The slightest misalignment can trick the system into thinking there's an obstruction, leaving your garage wide open when you thought it was closed. Learning how to check and adjust them is one of the most useful things a homeowner can know.
Decoding the Indicator Lights
Your first clue is always the small LED lights on each sensor unit. These lights tell you exactly what's going on with the beam.
- Solid Green Light: This is usually the "sending" sensor. A steady green light means it has power and is actively sending out its beam.
- Solid Amber/Red Light: This is the "receiving" sensor. When it's lit up and solid, it's getting the beam loud and clear. The alignment is perfect.
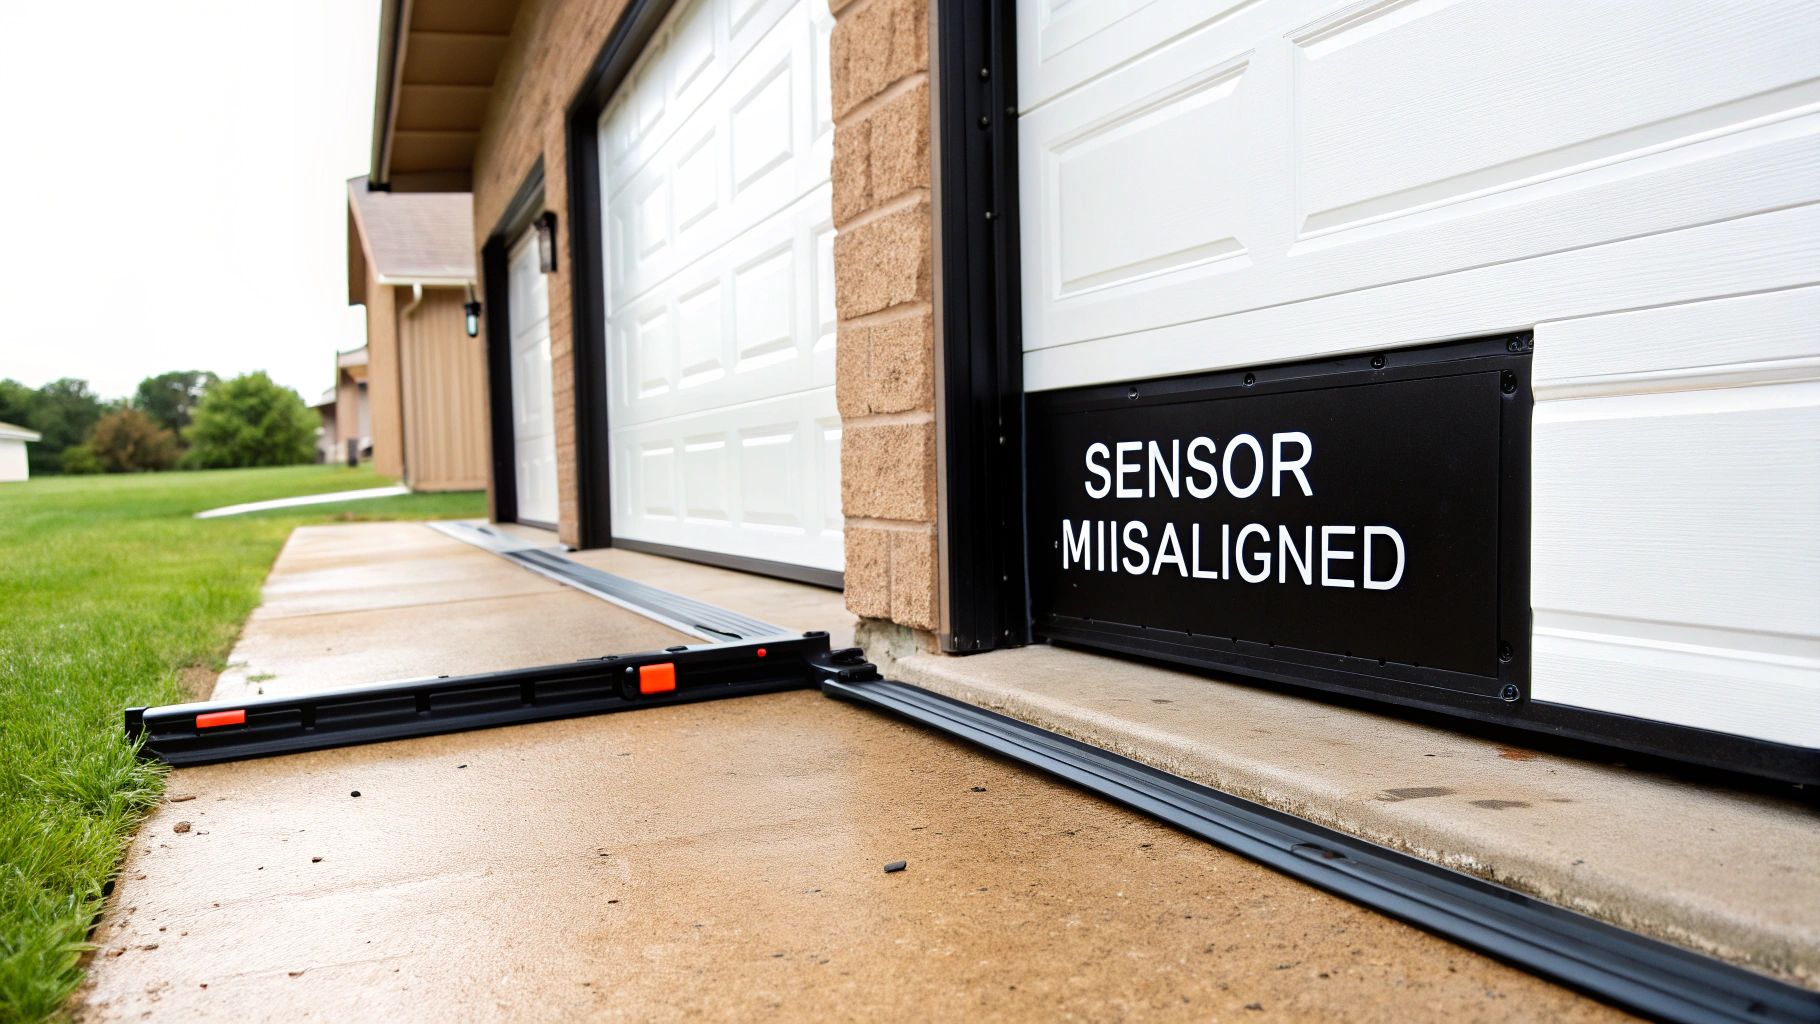
- Blinking or No Light: This is the tell-tale sign of a problem. A blinking light (or no light at all) on the receiving sensor means it can't see the beam from the other sensor. This is why your door won't stay closed.
A blinking sensor light is your system’s way of telling you, “I can’t see the other sensor!” Your job is to figure out why and restore their line of sight.
Simple Steps for Realignment
If you've got a blinking light, don't panic. The fix is usually surprisingly simple. It’s best to start with the easiest solutions first.
First things first, grab a soft, dry cloth and gently wipe the lenses on both sensors. It doesn't take much to block that infrared beam—dust, cobwebs, or even a thin layer of grime can be enough to trigger the reversal.
Next, do a quick visual check for any physical obstructions. I've seen it all: a stray leaf, a rake leaning against the wall, or a storage box that got pushed just a little too close to the track. Clear anything out of the path and check if the light on the receiving sensor turns solid.
If a good cleaning and clearing doesn't do the trick, the sensors are probably just knocked out of alignment. Loosen the wing nut or bracket screw on the blinking sensor just enough so you can move it with your hand. Slowly and carefully pivot the sensor up, down, and side to side until the LED light glows solid. You might even hear a faint "click" from the opener motor when they reconnect. Once that light is steady, tighten the bracket back up.
Malfunctioning safety sensors are one of the top reasons we get service calls. Ever since the U.S. government mandated them back in 1993, these devices have been essential for preventing accidents. When they get dirty or misaligned, the system registers a false obstruction and reverses the door. With industry data showing that over 70% of homeowners use the garage as their primary entrance, keeping these sensors in perfect working order is a major security and safety priority.
If you find that your sensors are damaged beyond a simple fix, you might want to learn more about the best garage door sensor options currently on the market.
Clearing the Door Path and Inspecting the Tracks
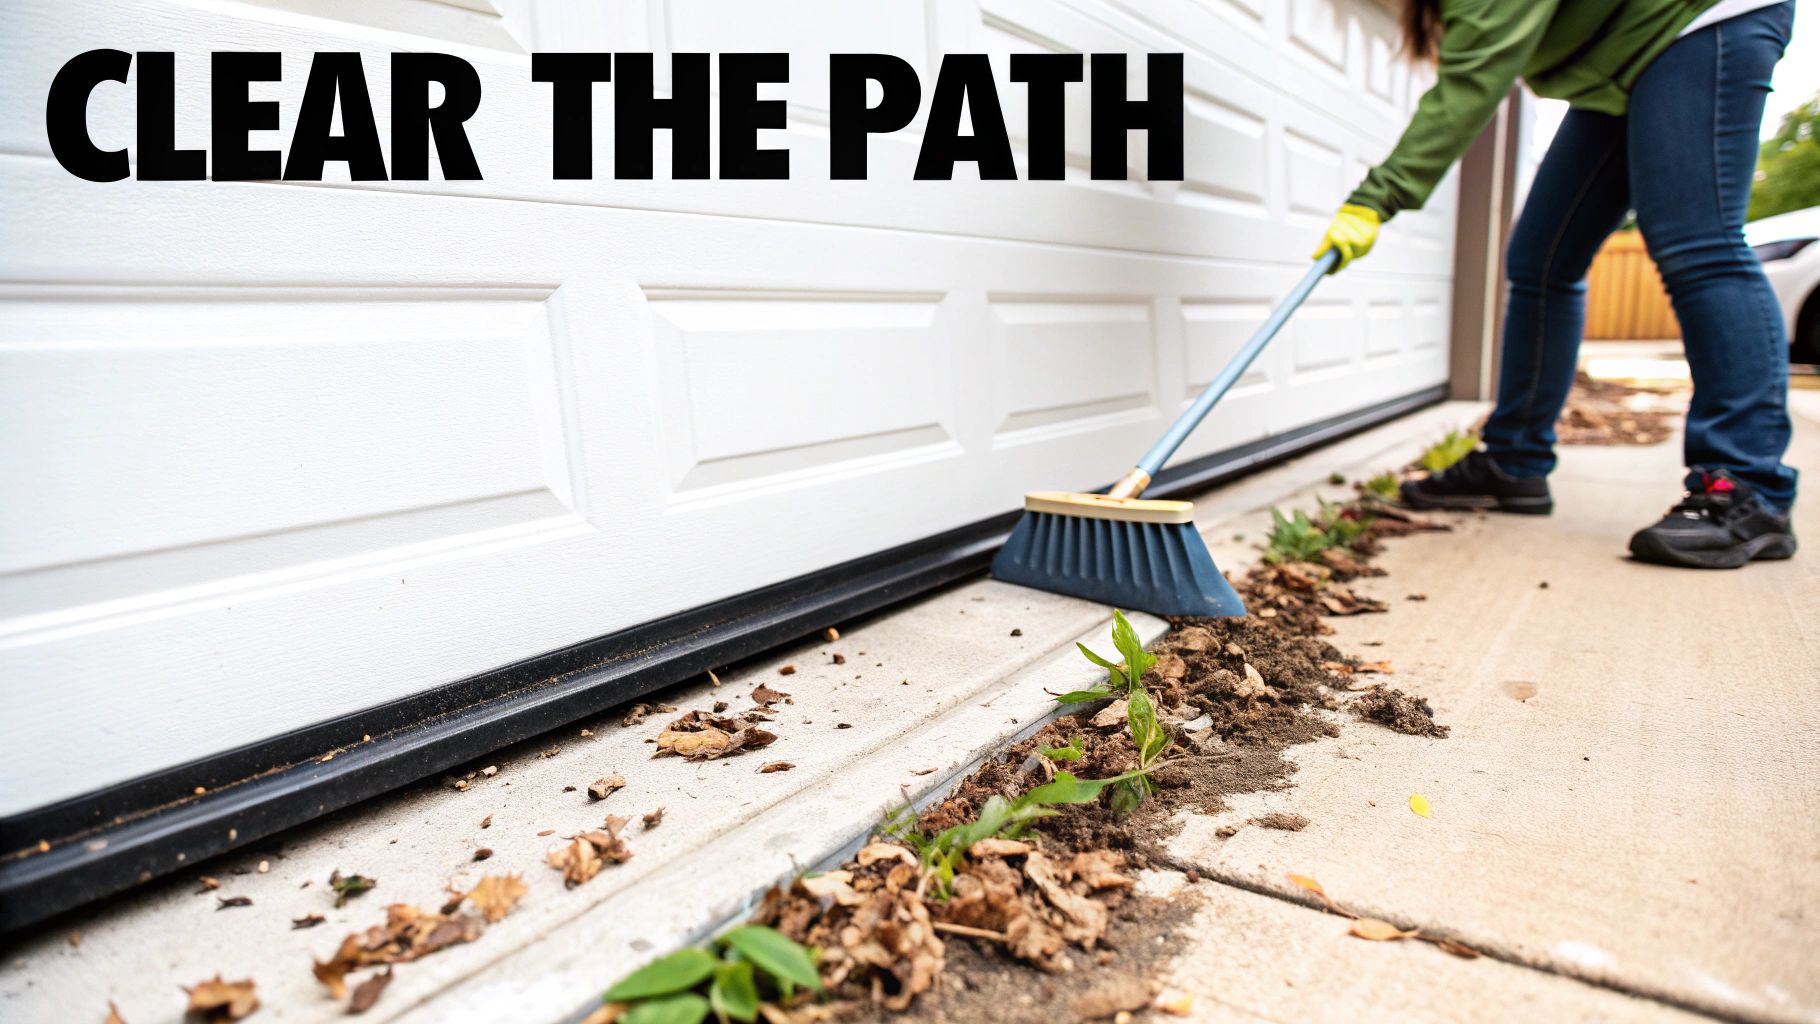
If you’ve already checked the safety sensors and they’re not the problem, the next logical move is to get hands-on and inspect the door’s physical path. It’s tempting to jump straight to tweaking the opener settings, but more often than not, a simple obstruction is the real reason a garage door won't stay down.
The opener’s force sensor is sensitive by design—it’s there to detect resistance and reverse the door to prevent accidents. It doesn't take much to trigger it.
Start with the obvious. Take a slow walk along the door’s path from one side of the garage to the other. Look for anything that could be blocking its final descent. You’d be surprised what can get in the way—a stray rake, a bicycle handlebar, or even a forgotten basketball is more than enough to make the door shoot right back up.
Inspecting Inside the Tracks
Once you're sure the floor is clear, shift your focus to the metal tracks themselves. These channels are the highway for the door's rollers, and even minor friction or a small blockage will feel like a major obstacle to the opener.
Grab a flashlight and get a good look inside both tracks, running your eyes from the bottom all the way to the top.
You’re hunting for anything that shouldn’t be there. I’ve seen it all, but the most common culprits include:
- Small pebbles or gravel your car tires dragged in.
- Compressed leaves, twigs, and other yard debris.
- Old, gunky grease that has hardened and collected dirt.
Use a rag or a small brush to wipe out anything you find. This little bit of housekeeping can solve the problem instantly, allowing the rollers to glide freely again. A smooth path is absolutely essential for your door to operate correctly.
A tiny stone lodged in the track can create enough resistance to make the garage door opener think it has hit a major obstacle, causing it to reverse as a safety precaution.
Checking for Track Damage
While you’re cleaning, run your hand along the outside of the tracks. Feel for any dents, dings, or bends. It happens. A minor bump from a car or ladder can be just enough to warp the track and cause a roller to bind up. That little bit of friction is all it takes to signal the opener to reverse.
Look for areas where the track seems pinched or slightly out of shape. If you spot a significant bend or any damage that stops the rollers from moving smoothly, you’ve found a serious issue. A door that’s binding can eventually pop right off its track, which is a much bigger—and more dangerous—problem.
If you suspect the tracks are damaged, you can learn more about how to handle it in our guide on how to fix a garage door off track. Don’t skip this visual inspection; it might save you from making a bunch of useless adjustments to your opener.
Adjusting Opener Travel and Force Limits
If you've already confirmed the sensors are aligned and the tracks are clear, the next place to look is the brain of the operation—the garage door opener motor. Your opener is programmed to know exactly how far the door should travel and how much muscle to use. When these settings are off, the opener can mistake a normal close for an emergency, causing that frustrating reversal when your garage door won't stay down.
Think of it like this: the travel limit is what tells the door precisely where the floor is. If it's set just a little too far, the door will hit the ground and immediately think it’s an obstruction, triggering the safety reverse. The force limit, on the other hand, is the opener’s sensitivity dial. Too little force, and the door might reverse at the slightest friction; too much, and you could be overriding a critical safety feature.
These settings often need minor tweaks throughout the year. As temperatures shift, wood and metal expand and contract, which can alter the door's balance just enough to throw off the factory calibration.
Finding the Adjustment Controls
First things first, you need to find the adjustment controls on your opener's motor unit. The exact location can vary by brand and model, but they're usually pretty easy to spot. Most modern openers from major brands like Chamberlain, LiftMaster, and Genie use one of two systems.
- Adjustment Screws: Many older models have two small, flathead screw dials. You'll typically find them on the side or back of the motor unit, sometimes tucked behind a light cover. One is labeled for "UP" or "OPEN" travel, and the other for "DOWN" or "CLOSE."
- Electronic Buttons: Newer models have ditched the screws for a set of electronic buttons, often next to a small LED screen. Look for up and down arrows and a "SET" or "LEARN" button.
If you're unsure, your opener’s manual is your best friend. Don't have it? A quick online search for your model number almost always brings up a digital copy.
The infographic below gives you a solid overview of the calibration process.

This visual guide breaks it all down into a simple loop: locate the controls, make a small adjustment, and test the door until it closes perfectly.
The Adjust, Test, and Repeat Method
Getting these settings right is a game of small, careful changes. If you rush it or make big adjustments, you can easily create new problems or make the existing one worse.
Start with the close travel limit. This is the likely culprit if your door hits the floor and bounces right back up. All you need to do is tell the opener to stop a fraction of an inch sooner. Using a screwdriver or the buttons, adjust the "DOWN" travel limit slightly—a quarter-turn of a screw is usually more than enough to start. Run the door again. If it still reverses, make another tiny adjustment and re-test. The goal is a door that closes fully, creating a nice, tight seal with the floor without slamming into it.
Now, let's look at the close force limit. If the door stops and reverses partway down for no obvious reason, the force setting might be too low. Increase the "DOWN" force with a very small adjustment. This just gives the opener a bit more oomph to overcome the door's natural resistance from friction.
CRITICAL SAFETY WARNING: Never, ever max out the force setting. That setting is a crucial safety feature designed to protect people, pets, and property. If your door needs a huge increase in force just to close, it's a clear sign of a more serious mechanical issue that needs to be fixed, not overpowered.
By making these patient, methodical adjustments, you can often recalibrate your opener and get your door working properly again. It’s all about finding that sweet spot where the door closes securely without triggering a false alarm from its own safety systems.
If you've already cleared obstructions, tweaked the opener settings, and given the safety sensors a clean bill of health, it’s time to look at the powerful mechanical systems doing the actual heavy lifting. Sometimes, a garage door that won't stay down is fighting against physical resistance or damage to its core hardware.
A safe visual inspection is all you need to spot these problems without putting yourself at risk. Your door’s rollers, cables, and springs work together in a finely tuned balance. When just one of these parts wears out or breaks, it can create enough friction or imbalance to trigger the opener's safety reversal. Think of yourself as a detective, not a daredevil—look, but don't touch any of the high-tension components.
What to Look For on Rollers and Cables
Start with the rollers—those little wheels that guide the door along the metal tracks. With the door fully closed, take a close look at the ones near the bottom. Do you see any cracks, chips, or obvious signs of wear? A busted roller won't spin freely, causing it to drag and create resistance. Your opener will mistake that drag for an obstruction and head right back up.
Next, shift your eyes to the lift cables. These are the steel wires running along both sides of the door, attached near the bottom. Check them for any signs of fraying, rust, or broken strands. Pay close attention to whether one cable seems looser than the other. A slack cable is a major red flag that points to a bigger issue with the drum or spring system.
Crucial Safety Warning: Never, under any circumstances, should you touch or try to adjust the high-tension springs or lift cables yourself. These parts are under an incredible amount of force and can cause severe injury or worse if they snap or are handled the wrong way.
Understanding the Role of Springs
The springs are the true muscle of your garage door system, whether you have torsion springs mounted above the door or extension springs running along the sides. They are responsible for counterbalancing the door's massive weight, which is what allows the opener to lift it with very little effort.
If a spring is broken, your opener is suddenly forced to manage the door's full weight. That strain will almost certainly trigger the force sensitivity setting and cause the door to reverse. Look for a visible gap in a torsion spring or an overstretched, sagging extension spring. Damage like this is serious and needs immediate professional attention.
Globally, steel remains the top choice for garage doors because of its durability, which helps maintain the integrity of the whole system and resist these kinds of mechanical failures. Staying on top of hardware checks is key, especially as the global garage and overhead door market is projected to hit nearly $10 billion by 2029. You can discover more insights about this growing market trend at Coherent Market Insights. By identifying a hardware issue early, you can give a clear and accurate description of the problem when you call for professional service, which makes for a much faster and more effective repair.
When You Should Call a Garage Door Professional
Knowing your limits is the smartest part of any DIY project. While many issues that make your garage door reverse are fixable on your own, some problems absolutely demand an expert’s touch. Trying to handle high-tension components yourself isn’t just a bad idea—it’s extremely dangerous.
Calling a professional isn’t admitting defeat. It’s making a smart, safe decision that protects you, your family, and your home.
Red Flags That Require a Technician
If you spot any of these issues, stop what you’re doing and pick up the phone. These are clear signs the problem is well beyond a simple DIY fix.
- A Broken Torsion Spring: This is the big, heavy-duty spring mounted horizontally above your door. If you can see a distinct gap in the coil, it’s snapped.
- Snapped or Frayed Lift Cables: These high-tension cables are what actually pull the door’s weight. If they look damaged, frayed, or one is hanging loose, the entire system is unsafe.
- A Door Off Its Tracks: Don’t even think about forcing this one. If the rollers have popped out of the tracks, trying to move the door can cause catastrophic damage to the panels, the tracks, and the opener.
Tampering with high-tension springs or cables can lead to serious, life-altering injuries. These parts are under an incredible amount of pressure, and a sudden release can be incredibly destructive. Understanding the dangers of garage door springs is something every homeowner should take seriously.
Here are a few common questions we hear all the time when a garage door starts acting up. Getting the right answers can save you a ton of frustration.
Why Does My Garage Door Only Reverse When It Is Sunny?
This is one of the most classic—and annoying—garage door quirks out there. If your door only misbehaves when the sun is shining brightly, the problem is almost certainly your safety sensors.
Bright sunlight, especially when it's low in the sky, can hit one of the sensor lenses directly. This essentially blinds the sensor, making it think an obstruction is blocking the infrared beam. As a safety measure, your opener immediately reverses the door.
A quick and surprisingly effective fix is to create little shades for the sensors. Just cut a couple of pieces from a cardboard tube (a paper towel roll is perfect) and slide them over the sensors. This blocks the direct sun but still lets them see each other. Sometimes, simply swapping the sender and receiver sensors to opposite sides of the door does the trick too.
Can I Just Turn Up The Closing Force To Make It Shut?
It can be tempting to crank up the force setting just to get the door down, but you should never max it out. Think of that force limit as a critical safety feature, not a power booster. If your door needs that much muscle to close, it’s screaming that there's a serious underlying problem.
Forcing a door closed with high force settings is like ignoring the check engine light in your car. It masks the real issue—like binding tracks, worn rollers, or failing springs—and can lead to severe damage to your opener or create a significant safety hazard.
How Often Should I Test My Garage Door Safety Features?
Getting into the habit of testing your door's safety features once a month is a fantastic idea. It takes less than a minute and is one of the smartest things you can do to ensure your system is working correctly.
Here’s a simple routine:
- Test the Reversal System: Lay a standard 2×4 board flat on the ground in the door's path. When the door makes contact with the board, it should immediately stop and reverse.
- Test the Sensors: As the door is closing, just wave your foot through the sensor beam at the bottom. The door should instantly stop its downward travel and head back up.
These quick checks confirm that the most important safety mechanisms are ready to protect your family and your property.
When DIY fixes aren't enough, you need an expert you can trust. Security Door Gate and Fence provides professional garage door repair to diagnose and resolve these issues safely and effectively. Schedule your service today.


 (480) 548-0807