


Replacing a garage door keypad sounds like a big job, but it's usually a pretty straightforward fix. For the most part, you'll be removing the old unit, connecting the new one, and then programming it to work with your opener. You only need some basic tools, and as long as you know whether your keypad is wired or wireless, you can get this done in less than an hour.
Knowing When to Replace Your Garage Door Keypad
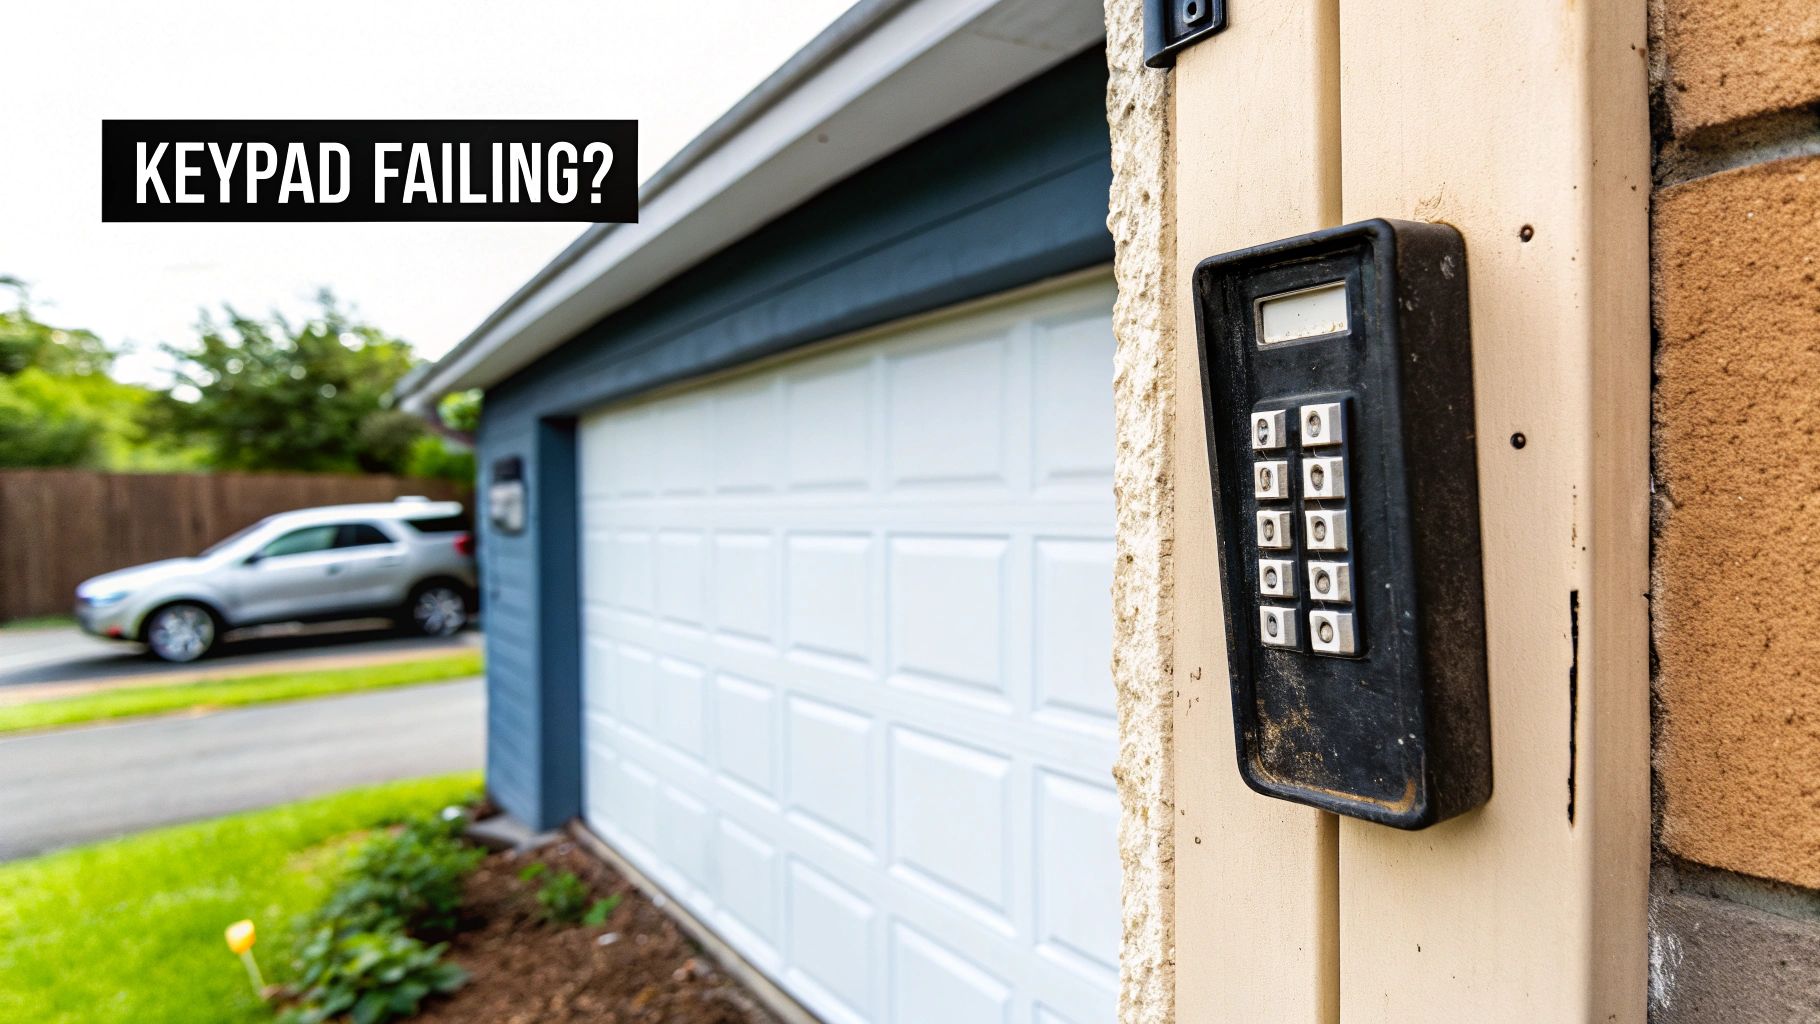
A faulty garage door keypad is more than just annoying—it can throw off your whole day and even put your home's security at risk. But before you jump to a full replacement, you need to be sure the unit is actually failing. Sometimes, what looks like a dead keypad is just a dead battery.
If a fresh set of batteries doesn't solve the problem, it’s time to look for bigger clues. One of the most common red flags I see is intermittent responsiveness. One day the keypad works like a charm, the next it’s completely ignoring you. That kind of inconsistency almost always points to internal components wearing out, which a new battery just can't fix.
Common Signs of Keypad Failure
Some symptoms are a dead giveaway that your keypad is on its last legs. Pay close attention to how it’s acting and what it looks like physically.
- Unresponsive Buttons: If you have to mash the buttons to get them to work, or if some numbers work while others don't, the internal contacts are probably worn out.
- Flickering or Dim Backlight: The backlight on your keypad should be steady and bright. If it’s dim or flickering even after you’ve put in a new battery, you’re likely dealing with a circuitry problem inside the unit.
- Visible Damage: This one’s a no-brainer. Cracks in the casing, heavy sun-fading, or any signs that water has gotten inside mean the keypad's integrity is shot. It’s time for a new one.
Giving your keypad a quick look-over now and then can help you catch these issues early. For more tips on proactive care, check out our comprehensive garage door maintenance checklist.
Wired vs Wireless Keypads
Before you buy a replacement, you have to figure out if your current keypad is wired or wireless. This is a crucial step because it determines the tools you’ll need and the installation process.
A wireless keypad is what you’ll find in most modern homes. It’s a self-contained, battery-powered unit that talks to your garage door opener using a radio signal. If you don't see any wires running from the keypad into the wall, you’ve got a wireless model.
Wired keypads, on the other hand, are physically connected to the opener's motor with low-voltage wiring. You’ll usually see these in older homes. A quick look will reveal a thin wire coming out of the back of the keypad and running along the wall up to the opener unit. Knowing which type you have is the first step to a smooth and successful replacement.
Choosing the Right Keypad and Gathering Your Tools
Before you even think about touching a screwdriver, a successful keypad replacement starts with two things: the right keypad and the right tools. Get this part right, and you'll save yourself a world of frustration—no incompatible parts, no extra trips to the hardware store.
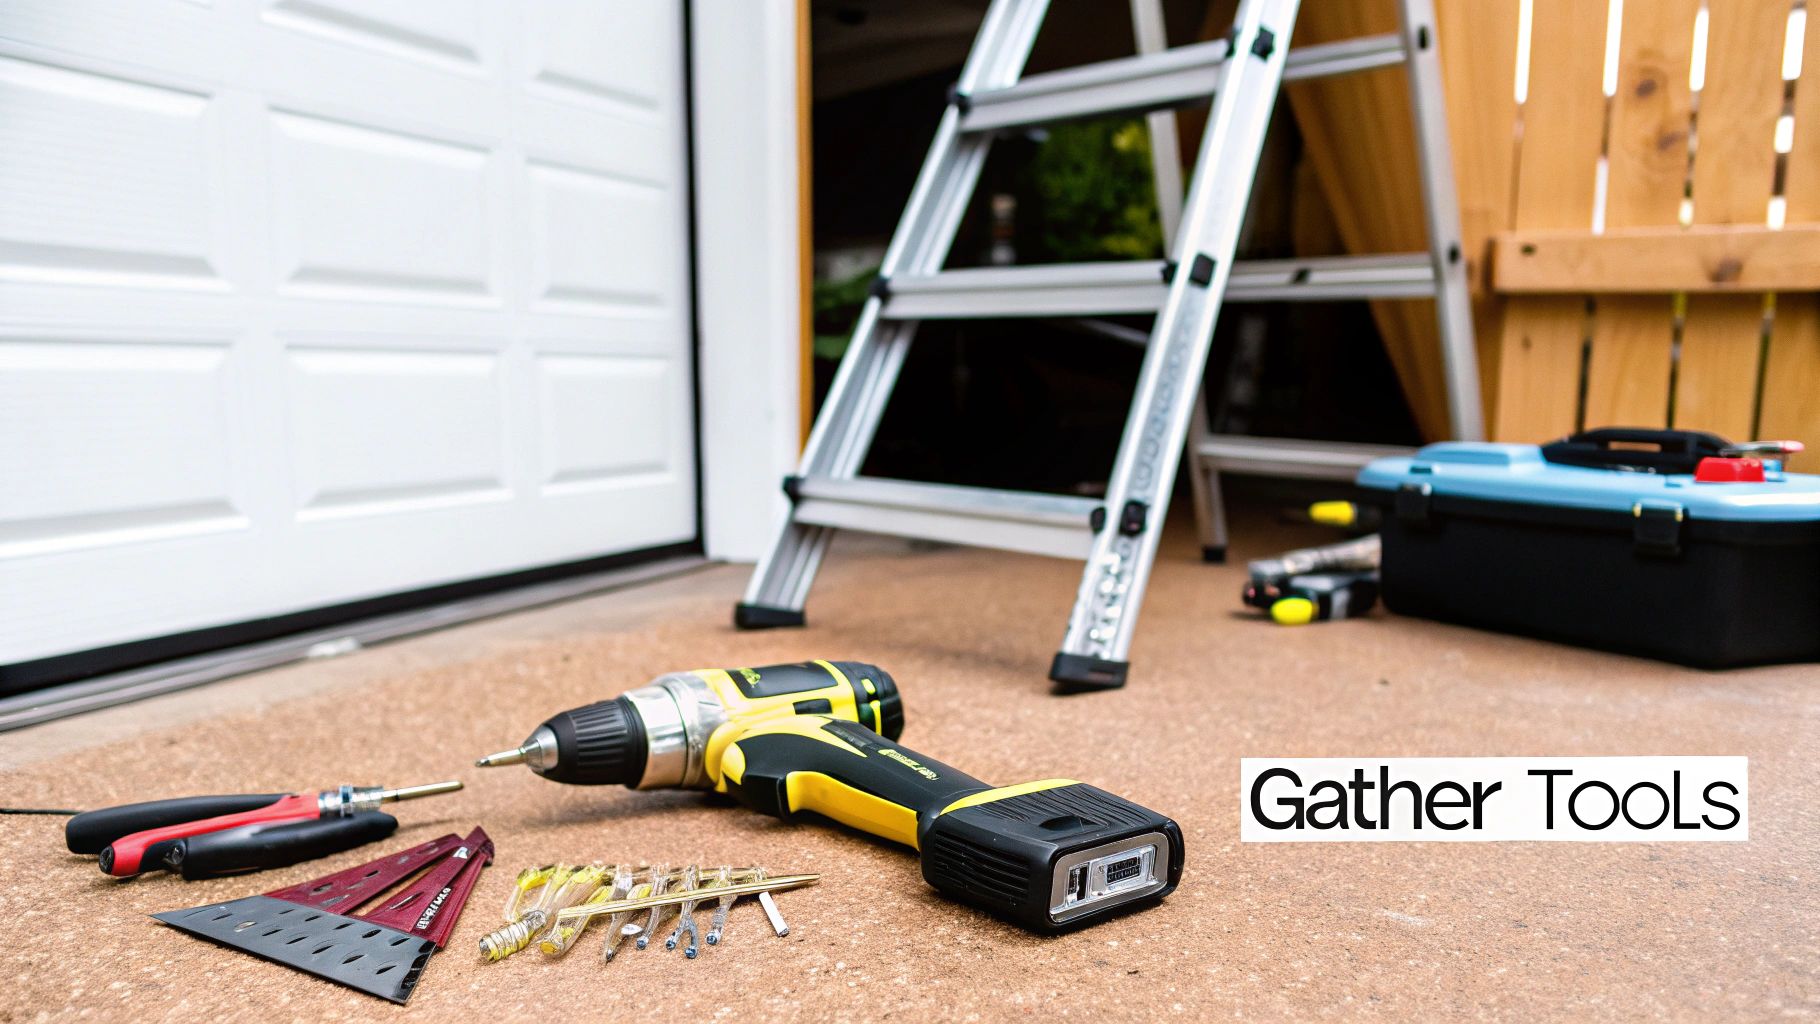
The good news is that the prep phase is pretty straightforward. You likely have most of the basic hand tools you'll need already. The real trick is making sure the new keypad you buy will actually talk to your garage door opener.
Thankfully, finding the right components is easier than ever. The demand for home security has fueled a massive market for garage door parts, projected to hit over $4.5 billion by 2034. This growth, detailed in a recent garage door parts market report, means you have more options available online and in stores.
Find Your Opener's Model Number
First things first, you need to play detective. Grab a ladder and get a good look at the big motor unit hanging from your garage ceiling. You're looking for a sticker with the manufacturer's name—like LiftMaster, Chamberlain, or Genie—and a model number.
Snap a picture of it with your phone. This little piece of information is your golden ticket to finding a compatible keypad.
Why is it so important? That model number tells you what kind of security technology your opener uses. Most systems made after 1993 use rolling code technology, which is a fancy way of saying the access code changes every single time you use it. This keeps things secure. Older openers might use a less secure fixed code. Your new keypad has to match this technology perfectly.
Universal vs OEM Keypads
With your model number in hand, you'll face two main choices: a universal keypad or an Original Equipment Manufacturer (OEM) replacement. An OEM keypad is made by the same company that made your opener, so compatibility is pretty much guaranteed.
A universal keypad, on the other hand, is designed to work with a bunch of different brands. They're convenient, but they don't always play nice with every single model out there, especially if yours is really old or brand new. If you want to learn more about the different types of openers, our guide on choosing garage door openers is a great resource.
When it comes to picking between a universal and an OEM keypad, it really depends on your specific garage door opener and how much guesswork you're willing to do.
Universal vs OEM Keypad Comparison
| Feature | Universal Keypad | OEM Keypad |
|---|---|---|
| Compatibility | Works with multiple brands, but check specific models. | Guaranteed to work with your specific opener. |
| Ease of Setup | May require extra steps to program. | Typically a straightforward, simple sync process. |
| Availability | Widely available at most hardware stores. | May need to be ordered from a dealer or online. |
| Cost | Often has a different price point. | Can be slightly more expensive. |
| Best For | Common or older models when an OEM isn't available. | Peace of mind and guaranteed compatibility. |
Ultimately, the choice is yours, but for a hassle-free installation, the OEM keypad is usually the safer bet.
My recommendation? If you can find a direct OEM replacement for your model, go with that. It removes any guesswork and almost guarantees a smooth programming process. Universal keypads are a solid backup option, but always double-check their compatibility list before purchasing.
Essential Tools Checklist
Once you've got your new keypad, it's time to gather your gear. You won't need much.
- Screwdriver: A Phillips head will usually do the trick.
- Ladder: For safely reaching the opener motor on the ceiling.
- Pliers: Good to have on hand for any stubborn old screws or fasteners.
- Wire Strippers: You'll only need these for wired keypads to prep the wires.
- New Batteries: Don't forget these for your new wireless keypad
Safely Removing Your Old Garage Door Keypad
With your new keypad in hand and your tools laid out, it's time to get started by taking off the old unit. A clean removal sets the stage for a smooth installation, but it all begins with one golden rule: safety first. A few minutes of prep work now can prevent accidents and make the whole job feel effortless.
The most important step is to cut all power to your garage door opener. Don't just flip the wall switch and call it a day. Head to your circuit breaker and turn off the switch dedicated to your garage door. If it's easier, you can also just unplug the motor unit from the ceiling outlet. This simple action completely removes the risk of the door suddenly moving while you're working on it.
Handling a Wireless Keypad Removal
If your old keypad is a battery-powered wireless model, you're in luck—this is the easy part. These are almost always held on by just one or two screws, which you'll typically find hidden behind the battery cover or under the flip-up lid.
First, pop open the cover and take out the old batteries. While you're in there, look around for the mounting screws. Once you've spotted them, grab your screwdriver and gently unfasten the keypad from the wall. It should lift right off.
Pro Tip: Don't just throw those old batteries in the garbage. Most hardware stores and local recycling centers have special bins for them. It’s a quick and easy way to keep harmful chemicals out of landfills.
Managing a Wired Keypad Disconnection
A wired keypad takes a little more attention to detail since you'll be dealing with physical wiring. After you’ve killed the power at the breaker, your next stop is the garage door opener motor itself. You'll need to find the terminal block where the small, low-voltage keypad wires are connected.
These terminals are usually marked with labels like "Wall Control" or have little icons to show what they're for. Before you touch anything, grab some masking tape and a marker. Label each wire based on the terminal it's connected to—for example, one wire might be "Red" and the other "White."
This small step is a total game-changer. It eliminates all the guesswork when you go to connect the new keypad, ensuring you get it right on the first try.
With the wires labeled, use your screwdriver to loosen the terminal screws and pull the wires out. Now you can head back to the old keypad, unscrew it from the wall, and carefully feed the wire through the hole until the unit is completely free.
Disconnecting wires is pretty straightforward, but it’s one of those jobs where paying attention really matters. If you open things up and find the wiring looks frayed, damaged, or more complicated than you expected, it's smart to hit the pause button. Knowing when a DIY project has crossed a line is important, which is why we often explain that some garage door repairs are best left to the experts.
Now that the old keypad is gone, you’ve got a clean slate to install its modern replacement.
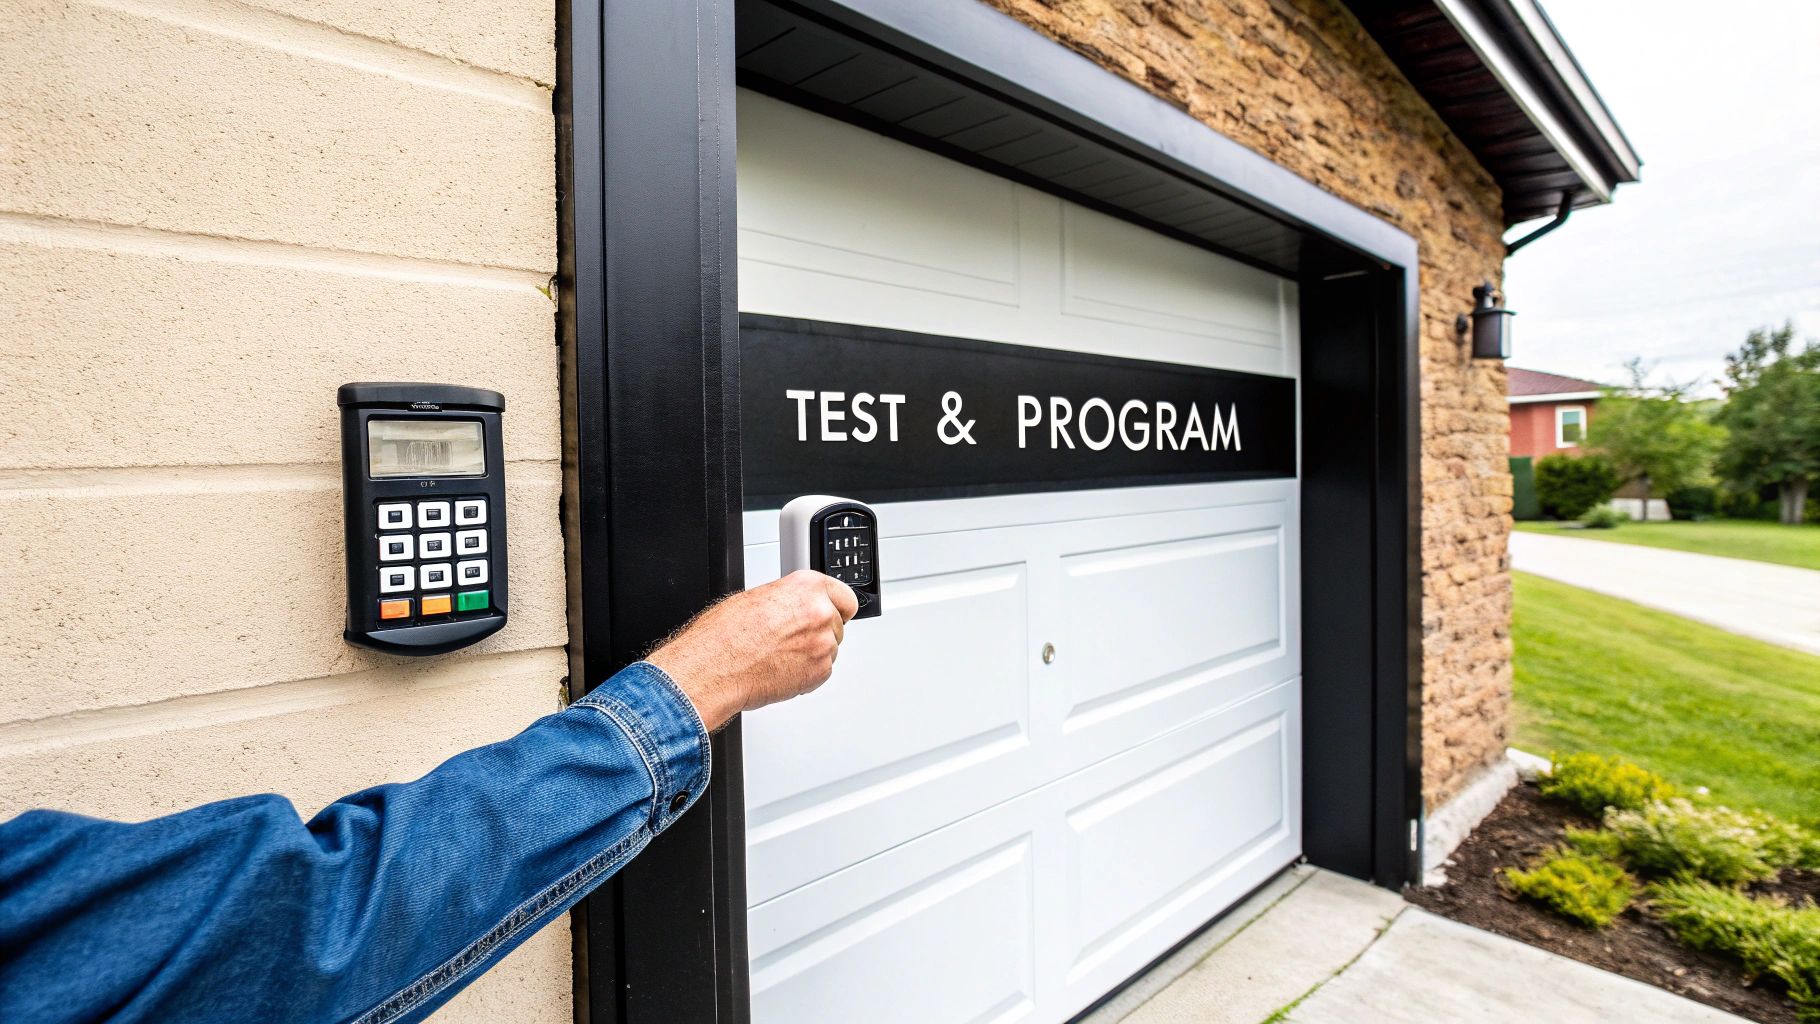
With the old keypad out of the way, you’ve got a clean slate for the main event: getting your new one up and running. Mounting the keypad correctly is more than just about making it work—it's about making sure it's secure, convenient, and built to last. This part of the job is all about precision, whether you’re dealing with a few wires or just finding the perfect spot for a wireless signal.
You’re not alone in this project, either. The market for garage door accessories is valued at a whopping $1.5 billion in 2024 and is only expected to grow. As smart home tech becomes the norm and older systems finally give out, more and more homeowners are tackling upgrades just like this one. You can dive deeper into the growth of the garage door accessories market to see how your weekend project fits into the bigger picture.
Positioning and Securing the Keypad
Where you place the keypad matters. The sweet spot is usually between 48 and 54 inches from the ground—high enough to keep it away from curious little hands but still comfortable for adults to use without awkward bending or stretching.
Once you find the right height, hold the new keypad against the wall and mark the screw hole locations with a pencil. If you get lucky, the new holes might line up perfectly with the old ones. If not, no big deal—you'll just need to drill new pilot holes. Just be sure to use a drill bit that’s a little smaller than your mounting screws to get a really snug and secure fit.
Before you start drilling, it’s worth a quick review of the safety steps for getting the old unit off the wall. This infographic breaks it down.
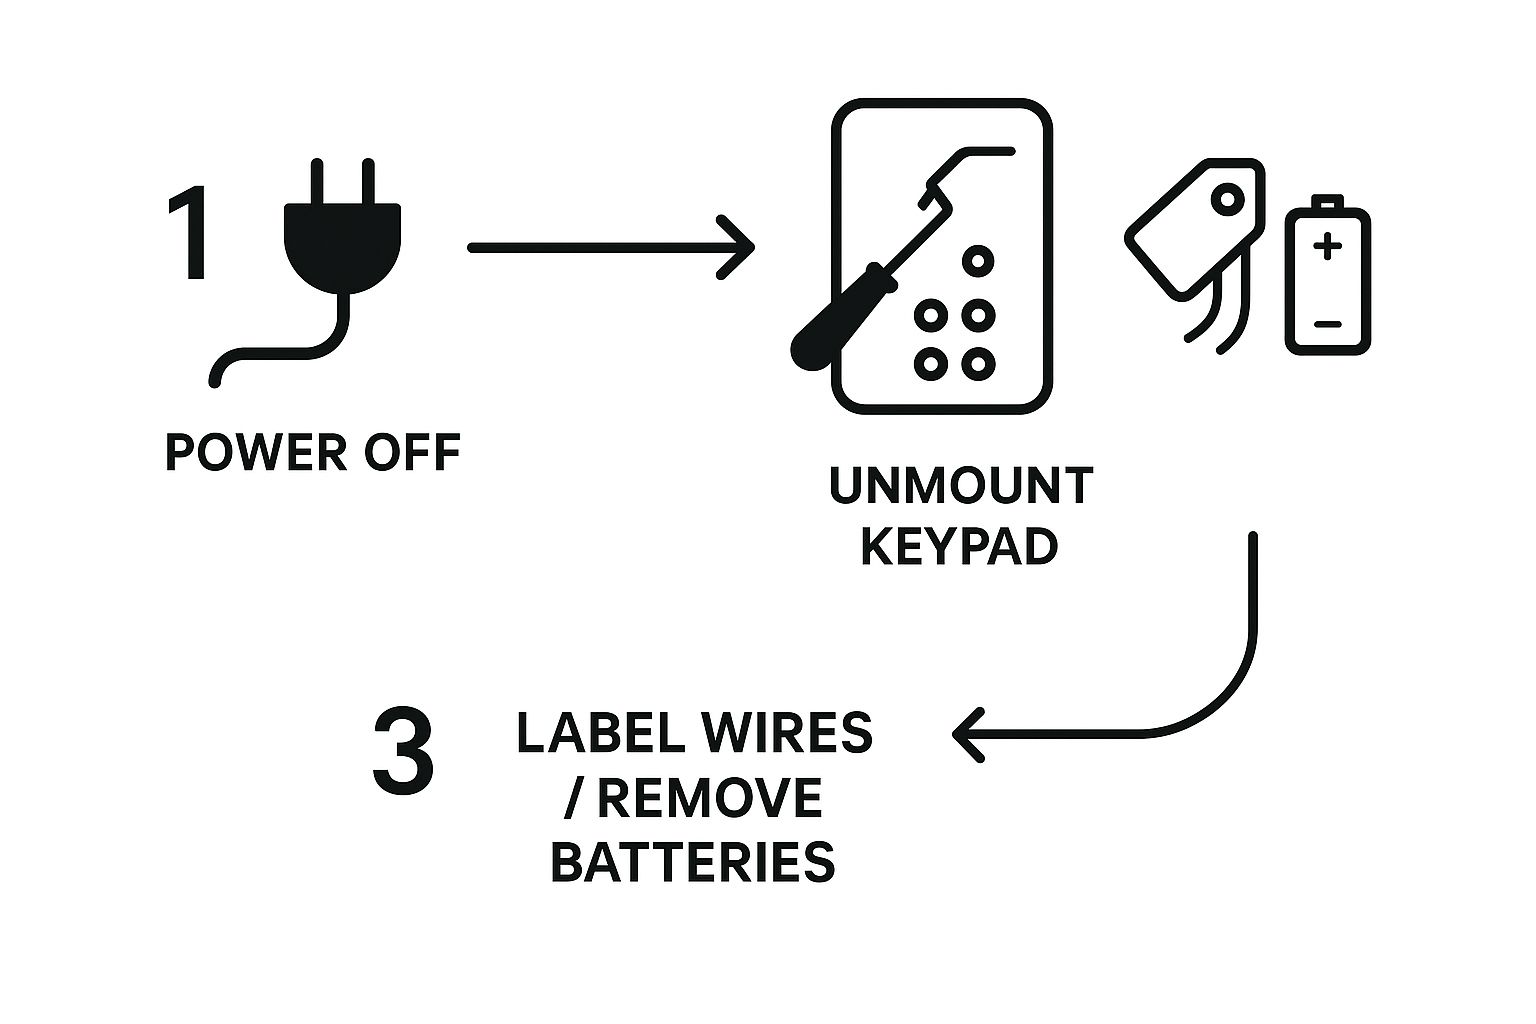
As the graphic shows, there are three non-negotiables: cutting the power, taking the old hardware off, and safely handling the leftover wires or batteries. Get these right, and the rest is smooth sailing.
Connecting a Wired System
If you have a wired keypad, those labels you made earlier are about to pay off. Start by carefully feeding the low-voltage wires from the wall through the opening in the back of the new keypad’s mounting plate.
With the wires through, it’s time to connect them. Simply match the wire you labeled "Red" to the corresponding red terminal and the "White" wire to the white one. Use a small screwdriver to tighten the screws so they're snug, but don’t overtighten. Once they're connected, you can mount the keypad onto the wall using the holes you drilled.
Quick Tip: Even though these are low-voltage wires, you absolutely want the main power to the opener to be off. It’s always a good idea to double-check the breaker one last time before touching any wires. Better safe than sorry.
Finalizing a Wireless Installation
Wireless keypads are definitely the easier route since there are no wires to fuss with. Your main goal here is simple: find a mounting spot that gives you a strong, clear signal to the motor unit inside the garage.
A few tips to get it right the first time:
- Avoid Obstructions: Don't even think about mounting the keypad behind a big metal pole or a thick concrete wall. These materials are notorious for blocking radio signals.
- Test Before You Drill: Before committing, have a friend hold the keypad in your chosen spot while you stand inside the garage and test it. A few seconds of testing can save you from drilling unnecessary holes.
- Secure It Firmly: Once you’ve confirmed the signal is solid, go ahead and drill your pilot holes and mount the keypad securely to the wall.
After it's mounted, pop in the new batteries. You're now ready for the final step: programming.
Programming and Testing Your New Keypad
Alright, with your new keypad securely mounted, you're on the home stretch. The last piece of the puzzle is teaching it to talk to your garage door opener. This is the programming, or syncing, that turns that new piece of hardware into a working entry point for your home.
This whole process is usually pretty quick, but it does require some precise timing. Don't sweat it if you need a couple of tries to get it right—that's perfectly normal for first-timers.
It's amazing how much smart home tech has pushed these devices forward. The global garage door market was valued at USD 20.92 billion in 2023 and is expected to keep climbing, largely thanks to demand for smarter, more convenient access. If you're curious, you can explore more about the trends shaping the garage door industry to see where your upgrade fits in.
Locating the Learn Button
First thing's first: you'll need a ladder to get up to your garage door opener's motor unit. Take a look at the back or side of the motor, and you should find a small, often colorful button labeled "Learn" or "Program." This little button is the key to pairing any new device.
Once you spot it, press it and let go immediately. You'll see an LED indicator next to it light up and stay on for about 30 seconds. This is your programming window, so you have to move fast.
Important Takeaway: You have a very limited time—usually just 30 seconds—to enter your new PIN on the keypad after pressing the "Learn" button. Make sure you have your desired code ready to go before you hit it.
Syncing Your Keypad and Setting a PIN
With the opener's LED lit up, head back down to your keypad. The exact sequence of buttons you'll press next can vary a little between brands, but the general idea is always the same.
- For Chamberlain, LiftMaster, and most common brands: Punch in your chosen four-digit PIN, then press and hold the "Enter" button.
- For Genie models: Enter your PIN, then tap the "Up/Down" arrow key a few times.
- For universal keypads: These usually have you follow the instructions specific to your opener's brand, which will be laid out in the keypad's manual.
You'll know you've nailed it when the opener's lights flash or you hear a solid "click." That's the confirmation that the opener has accepted your new keypad and PIN. If your keypad has a cover, go ahead and close it up. A modern keypad is a great first step, but you might also be interested in the benefits of upgrading to a smart garage door opener for even more control and convenience.
Final Testing for a Perfect Finish
Now for the moment of truth. Stand outside with the garage door closed, punch in your new PIN on the keypad, and hit the "Enter" or "Open" button. The garage door should start opening smoothly.
Next, let's test the close function. With the door open, enter your PIN again and press the same button. The door should close without any hitches. If both tests pass, you're all done. Congratulations, you've successfully replaced your garage door keypad
Common Questions About Garage Door Keypad Replacement
Even after a smooth installation, you might still have a few questions floating around. It's totally normal to wonder about the lifespan of your new keypad or what to do if things don't sync up on the first try.
Let’s tackle some of the most common questions that pop up when you replace a garage door keypad. Getting these answers sorted out will make sure your new keypad gives you reliable, long-term access to your home.
Should I Replace the Battery or the Entire Keypad?
This is always the first question to ask yourself. Before you do anything else, start with a fresh battery. It’s the easiest fix and, nine times out of ten, it’s the culprit behind an unresponsive keypad.
If a new battery doesn't do the trick, or if the backlight is still weak, the problem is likely deeper inside the unit's circuitry. Take a second to look for physical damage too, like a cracked case or any corrosion on the battery contacts. If you've tried a new battery and reprogramming fails, that's a sure sign the whole keypad needs to be replaced.
Can I Use a Universal Keypad with My Opener?
Usually, yes—but it's not a guaranteed solution. Universal keypads are built to work with most major garage door opener brands made after 1993, but there are always exceptions to the rule.
Your safest bet is always an OEM (Original Equipment Manufacturer) keypad designed specifically for your opener model. If you decide to go with a universal one, you absolutely have to read the compatibility list on the package before buying. Make sure it works with your opener's brand, age, and security tech, like rolling code.
A universal keypad might seem like a convenient shortcut, but an incompatible one is just a frustrating waste of time. Double-checking that compatibility chart against your opener's model number is a non-negotiable step to avoid a headache later.
What if My New Keypad Is Not Syncing?
Don't panic if it doesn't sync right away. The most common issue here is simple timing. Go back and carefully read the programming instructions again. You typically only have about 30 seconds to enter your new code after pressing the "Learn" button on the opener.
Still no luck after a few tries? Clear the opener's memory. You can usually do this by pressing and holding the "Learn" button for about 6-10 seconds, until the indicator light shuts off. This erases all connected remotes and keypads, giving you a totally clean slate. Now, try programming the new keypad from scratch.
How Long Does a Garage Door Keypad Last?
On average, you can expect a garage door keypad to last about 10 years. That said, the lifespan can vary quite a bit based on climate, how often it's used, and whether it’s exposed to the elements.
A keypad that bakes in the afternoon sun or gets hammered by rain will probably give out sooner than one installed in a shaded, protected spot.
If you've followed all the steps and are still running into issues, or if you'd just rather have a professional make sure your home's security is handled right, Security Door Gate and Fence is here to help. Our experienced technicians can handle any garage door keypad installation or repair quickly and efficiently. Contact us today to schedule your service.


 (480) 548-0807